
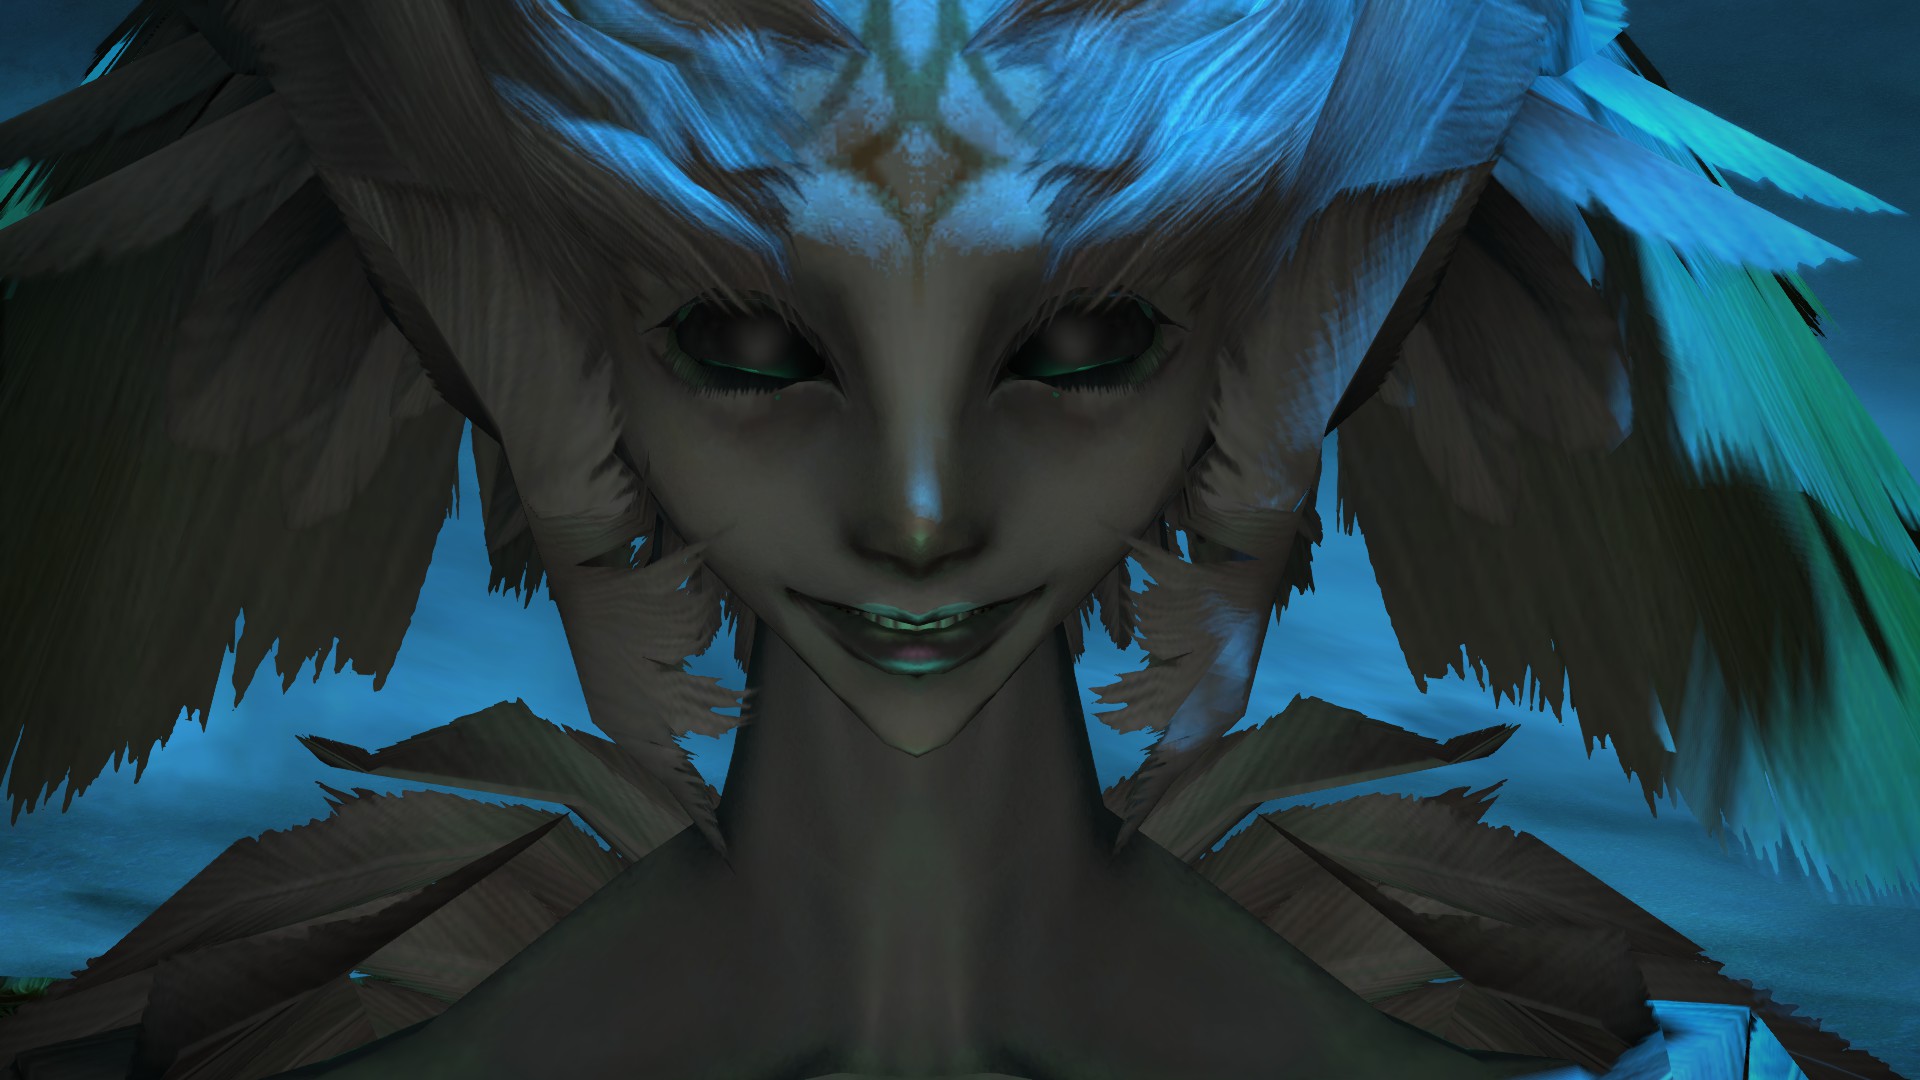
Following the two Primals that you take down in Final Fantasy XIV, the real challenge comes when you face Garuda. Near the end of the game, the giant Harpy Garuda is the last Primal that you will get to fight in the game. Unlike Ifrit and Titan, Garuda is a much tougher foe as she has more mechanics and devastating attacks that can wipe the entire party.
The Garuda Primal quest is unlocked automatically through the main storyline. The quest can be done if you are at least level 44 and will sync at level 46. As always, getting to the max level is always better.
Without further ado, here’s our a guide for the Garuda fight (Story Mode)
GARUDA

– When fighting Garuda, please note that the boss has two phases. In two phases, Garuda will have a different set of moves that she will use.

Phase One
– During the first phase of Garuda, she will have various attacks that can wipe one party member if they don’t dodge it. At the beginning of the fight, notice that there are four stone pillars. These pillars are breakable and it’s imperative that you protect these from Garuda and her adds. To do that, make sure everyone stays away from it. I recommend the group going to the left or right side when approaching the boss. Stay there and remember to keep away.
– When you approach Garuda for the very first time, she will be in front of the stone pillar in the middle. Have the tank hold her there while the healer and DPS stays on either the left or right side. At this phase, it’s tank and spank but the healer should watch out for Garuda’s AOE or single Wind attack to any random party member.
– After a couple of seconds fighting her, she will vanish. When this happens, hide from one of the four pillars as she will re-appear again and unleash a deadly frontal wind attack.
– If you manage to survive that, she will then release a set of razor adds. When the adds appear, it’s important for the DPS to take these out as they will attempt to destroy the stone pillars.
– With the adds are gone, she will go to the opposite end and will do the same thing she did the first time.

Phase Two
– As the boss’ HP drops to 50%, she will switch to phase two. When this happens, she will go in the middle and will mention something about Reckoning. If you have a full stone pillar still standing, hide from behind them and you will be protected from her devastating AOE wind attack. If you fail to hide from the pillars or don’t have a full stone pillar standing up, there’s a high chance you’ll get wiped out.
The AOE attack from this phase is unavoidable. If you think the damage from her AOE attack is too much, there’s one way to make sure you only get little damage and that’s to save the LIMIT BREAK of the Tank.
– Assuming you survived that attack, have the healer heal everyone one up. A vortex will appear, so make sure you are staying inside.
– As the healer is healing everyone up, the tank should make sure Garuda is not facing the entire group as the boss will do several AOE attacks. Healer must stay AWAY as much as possible. This is the point where Healer’s abilities to get everyone alive will be tested.
– When the boss’s life drops down to 25%, she will go to that one pillar she was standing on earlier. As soon as everyone sees that, go farther from it as she will unleash another frontal AOE that deals over 2000 damage. If you’re hit, there’s a chance you’ll be wiped.
– During this phase, she will also bring out the razor plume adds. Since the area that you get to fight is much narrower, DPS that have AOE attack can easily take them out.
That’s it! That’s all you need to know in this fight.
For more Final fantasy XIV Game Guides like this one, check out our Final Fantasy XIV Game Guide page.