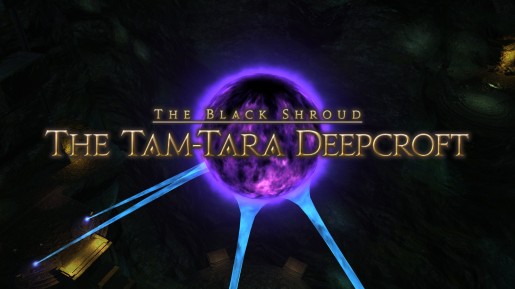
Since its establishment during Gelmorran times, this subterranean crypt has been used for generations as a final resting place for the remains of rulers and nobles. Since the Calamity, however, the tunnels have become ovverrun with the Lambs of Dalamud–a deadly cult who worships the now-fallen satellite as their savior. It is in the Deepcroft that these twisted souls silently plot revenge against those who fought to prevent the advent of Dalamud, summoning any dark presence who will aid them to this end…no matter what the cost.
Level: 16 (Sync from 18)
Overview
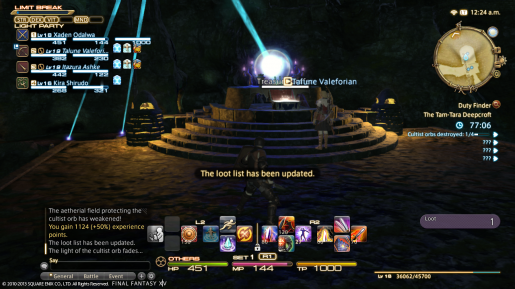
-Tam-Tara Deepcroft is a very straightforward dungeon with a few side areas, that mostly just include treasure chests and nothing more. Your overall mission is to destroy four cultists orbs that you will come across as you continue through the dungeon.
-You will come across very easy enemy groups including enemies such as Ak-Inik Varlet and Fleshfly Swarms. The key is to be aggro and make sure your tank is distracting each of the groups.
-Battle past all of these as you make it to each cultist orb. The first two are very simple as you have to fight a Priest and Gravedigger Imps. Just focus on the Priest first and then take out the Gravedigger Imps easily. At this point, it will spawn the mini-boss that will be discussed later. This will happen for each of the three locations with the cultist orbs, the latter two being found together.
-The only mix-up is that you will have to find a cultist rosary to break a seal prior to the last two cultist orbs, but it is very easily found as the dungeon is so linear. After destroying the four cultist orbs, you will face the final boss of the dungeon.
Void Soulcounter
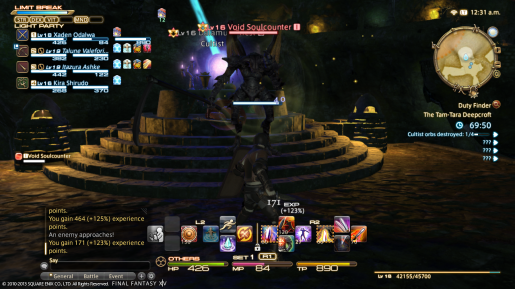
-This mini-boss, as referenced above, appears in the areas with the cultist orbs. Once you defeat the Priest and Gravedigger Imps that appear, a single Void Soulcounter will arise.
-Void Soulcounter is a breeze. Just have your tank focus on him and pound away. He will be destroyed before you know it.
-As with the last dungeon, you will face the same mini-boss multiple times, three times in fact. Each time just follow the same strategy and you will be fine.
Galvanth the Dominator

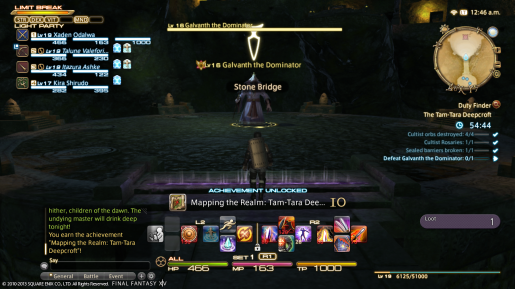
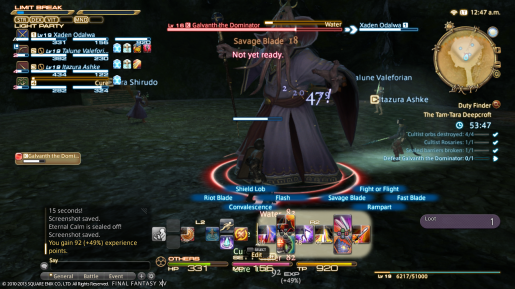
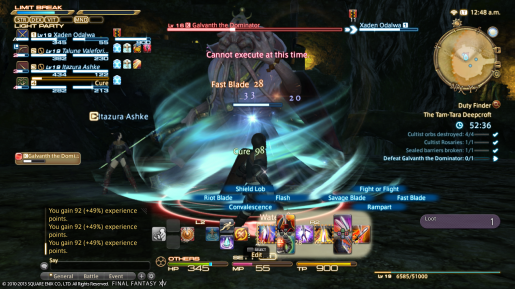
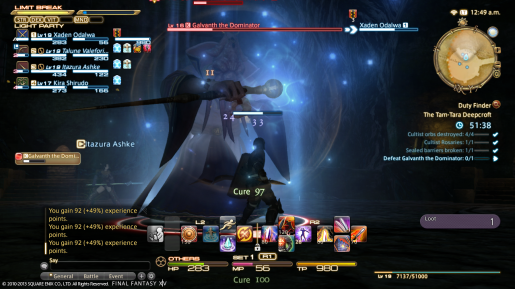
-As with the theme on this dungeon, the final boss Galvanth the Dominator is not too overly hard. Start the battle by hitting Galvanth hard, especially with your tank.
-When Galvanth is down to about 75 percent of his health, he will spawn one Inconspicuous Imp. He shouldn’t be much of a problem. Just make sure everyone focuses on taking him down quickly and don’t let him get to your healer. Once he is down, keep pounding Galvanth once again.
-At 50 percent, Galvanth will then spawn a few more enemies, another Inconspicuous Imp and a group of Deepcroft Miteling and Skeleton Soldiers. Same strategy as before. Take out the Imp first as quick as you can, then follow with the rest of the group while keeping an eye on your healer. The tank must keep all of their attention. When done with them, once again return to Galvanth.
-Lastly, at 25 percent, Galvanth will make one last ditch effort to take you down by spawning a group very similar to the last, but this time with two Inconspicious Imps. Take them down first, with the tank keeping their attention off the healer. Then focus on the rest of the spawns. Once that is done, take down the rest of Galvanth. Like I said before, this is a pretty easy boss overall.
We’ll continue to add more guides for Final Fantasy XIV! Look for the Final Fantasy XIV Game Guide banner to see more!


