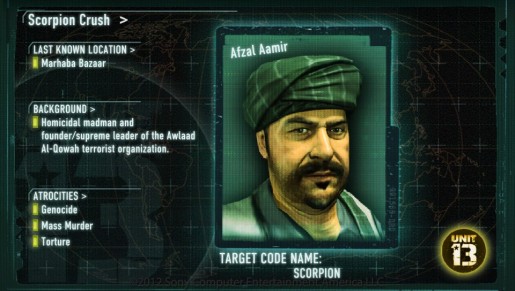
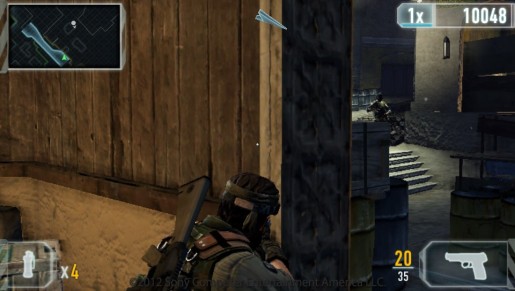
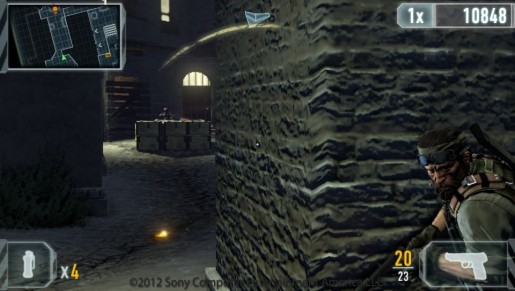
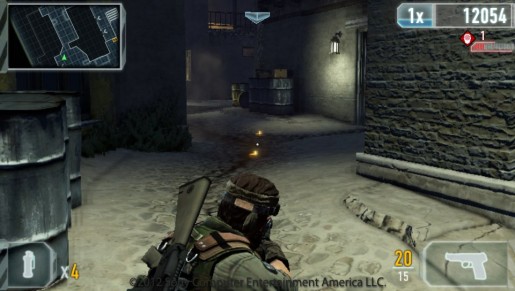
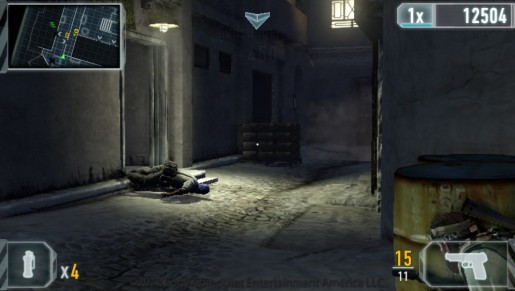
Welcome to the last HVT, but don’t worry hes a joke. This mission is all about quick shooting and avoiding traps. It is among the longer missions, though playing smart will make the mission easier. If you follow this guide, you should beat him with ease.
To unlock Scorpion, you got to 5x star every mission. However, you can make friends with someone who can share it via Near. This is true for any HVT, but getting 140+ stars isn’t too bad.Sadly I can’t do one of the stealth stages, so I never unlocked Scorpion. By this I mean I can’t share the mission with you, sorry.
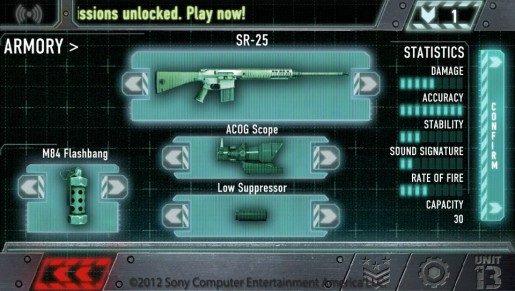
This mission is all about quick shooting, so you’re going to want an accurate gun. I suggest using charges, though that’s just to save you a minor headache.
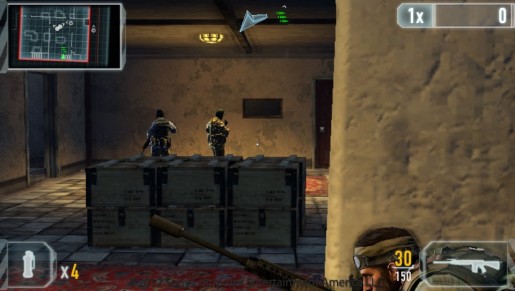
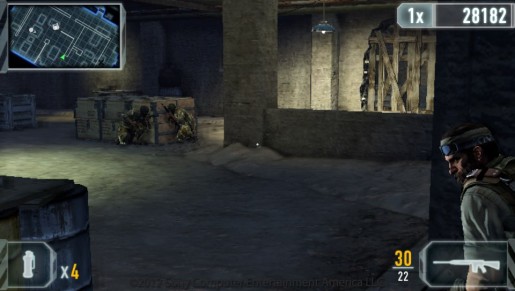
There are two ways of doing this part. The first way is to alert everyone and the other is to kill them with stealth. Stealth will get you out of the building with ease, but for this guide I just alerted them. In any case, take out these enemies as you see fit.
Head down and wait for enemies to rush you. Over time they will either give up or run into your gun fire. If you’re playing stealthy, there should be a single guy wondering around. Knife him, but don’t exit the building. There will be a guy wondering around outside, which you should kill.
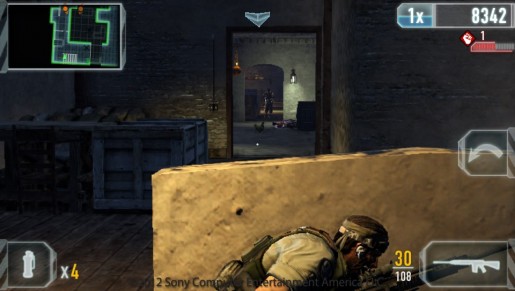
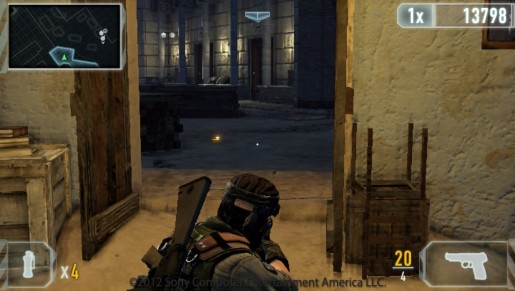
This is where the stealthy bit ends, so get ready to shoot this guy. Once hes dead, disarm the mines.
If you turn around, there is an enemy on patrol, so blowing up the mines will alert him. You can kill him in the building, though hes easier to just wait out.
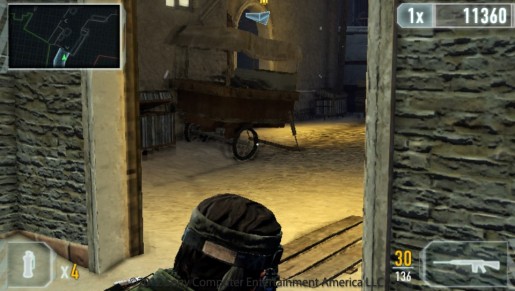
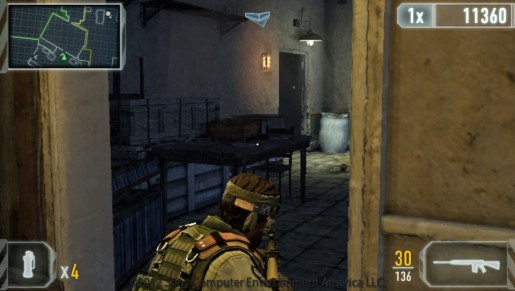
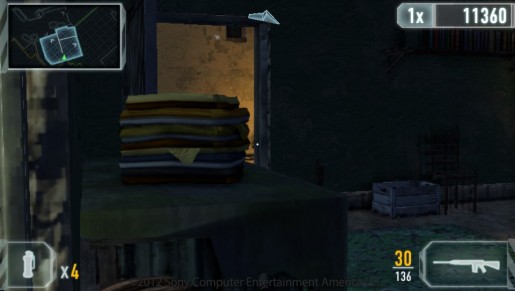
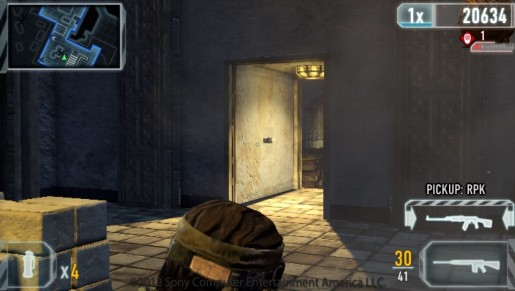
Exit the area, but keep in mind that this part is extremely important. If you go a certain way, you will unlock a missable trophy, but if you don’t care just follow the waypoint.
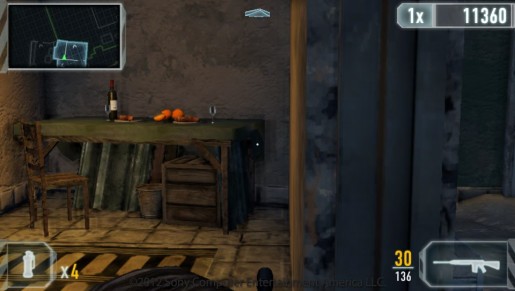
This room has the trophy, so make sure you don’t blindly follow the way point.
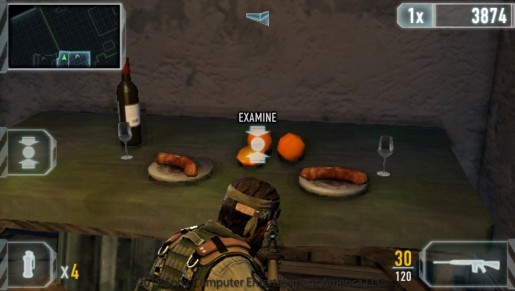
If you examine this meal, then you will unlock the “Blast From the Past” trophy. If you’re sharing this via Near, remember that the mission will only be unlocked for a short period. Before finishing the mission, you should make sure you take care of this.
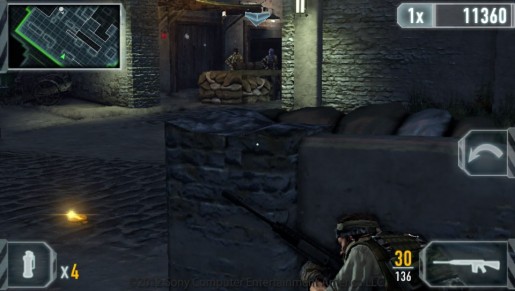
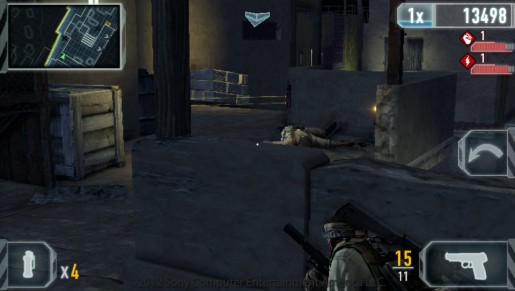
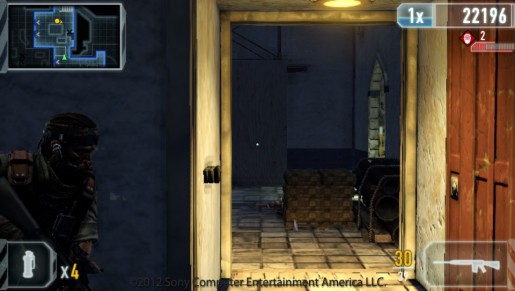
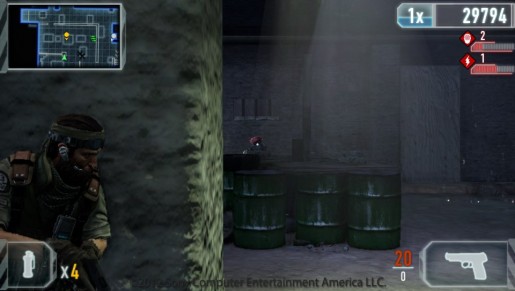
Shoot these two enemies and then disarm the mines. However, don’t enter that area quite yet.
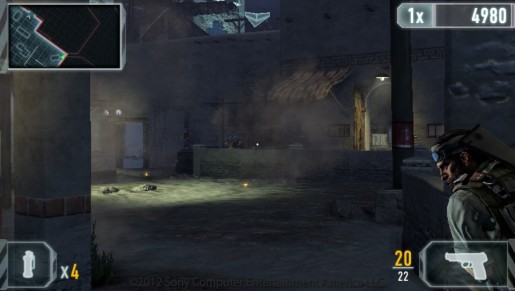
It might be hard to see, but there is a RPG enemy waiting for you. Quickly kill him before thinking of progressing, though you might want to wait. Since you’ve alerted the enemy, you will most likely get rushed by a few enemies, though you can kill them as they progress from here.
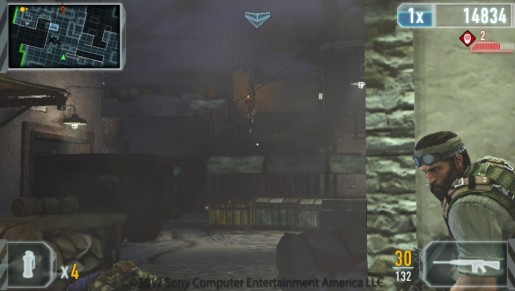
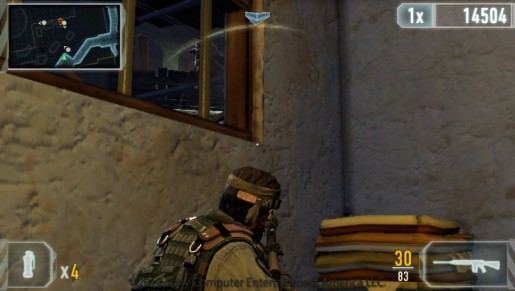
I strongly suggest you hang back a bit,since there is a patrol who might get alerted when you deal with the wire. Clear out any enemies you have left and quickly run into the building. Once you’re inside, you will need to clear out the aforementioned patrol.
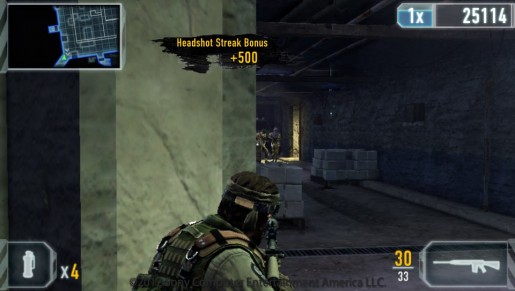
Pick off enemies as they advance, so you don’t run into certain death. Once they’re clear, get ready to go to the next area.
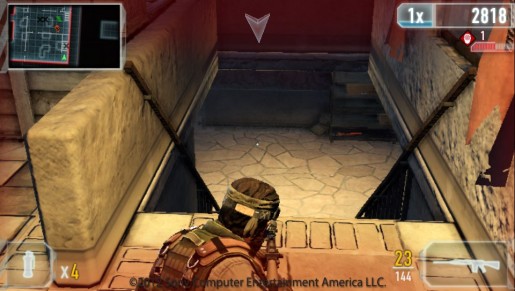
Shoot this mine then jump down.
Once you’re down there, you should hear C4 beeping. This can get confusing, but this is where it’s located. Simply disarm it to continue.
Kill the first enemy when it’s safe, then wait for the other enemy to advance. Once hes in a open location, pop out to kill him.
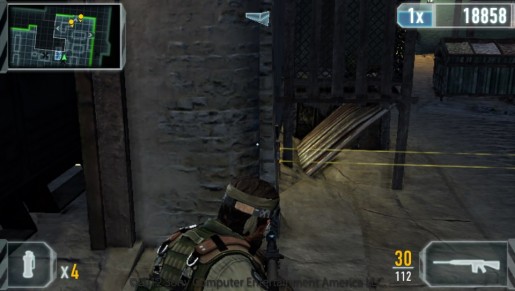
Continue down the left path, but don’t progress too quickly. You will need to kill this guy and take care of some mines.
After hes dead, make sure to disarm or explode these mines.
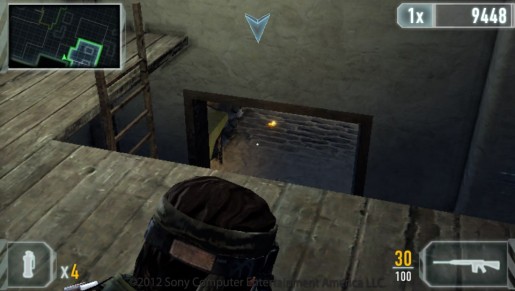
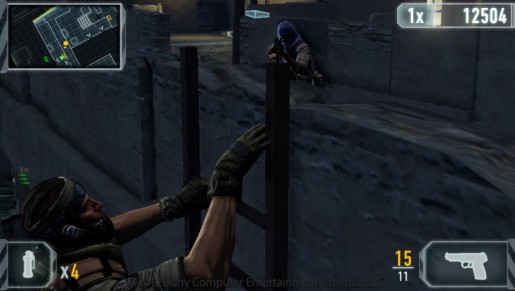
After that part, you should see a single guy on patrol. I suggest knifing him, but you can do whatever you please. After hes dead head up the ladder.
I happened to alert the enemies, so wait for them to lose interest before jumping up there. Once it’s safe, kill the enemy to continue.
There will be another enemy who you need to kill and yet another trap to deal with. Before rushing the next part, make sure you take care of the C4 first.
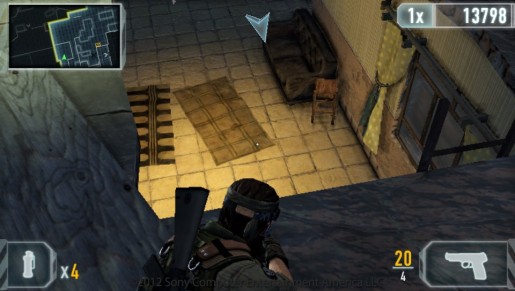
Jump down, but make sure you’re ready for a fire fight.
Blow up this mine so the enemies are alerted, but don’t exit this room. Most will rush you, so you can quickly pick them off. The real goal is to kill the guy above, in addition to avoiding a well placed mine.
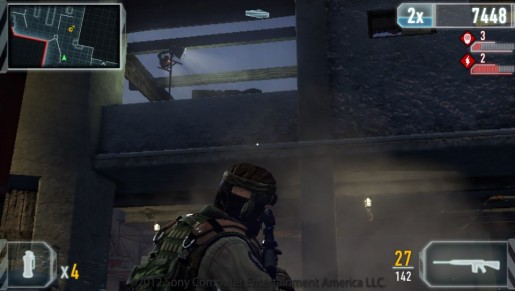
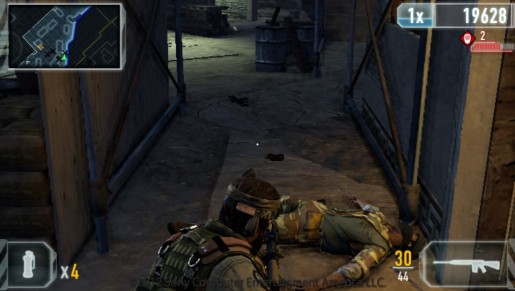
This is the guy above you need to kill or he will rain you with grenades. This can result in a quick and sudden failure, so kill him quickly.
When you leave the building, do not go right. You will most likely run into this mine, which will result in a failure. This is why you want to stay in that room till it’s safe to progress.
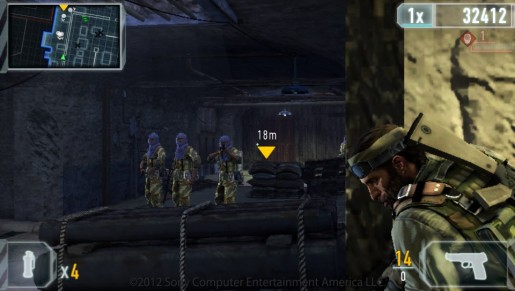
It’s hard to say how many enemies will be left, but this guy doesn’t move. Make sure you’re ready to kill him or he might catch you off guard.
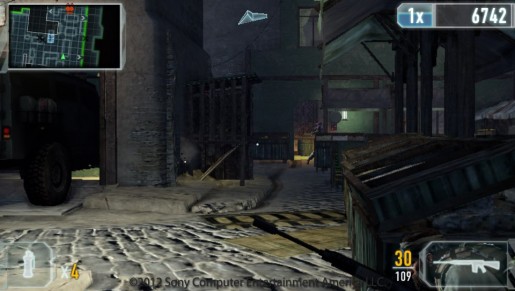
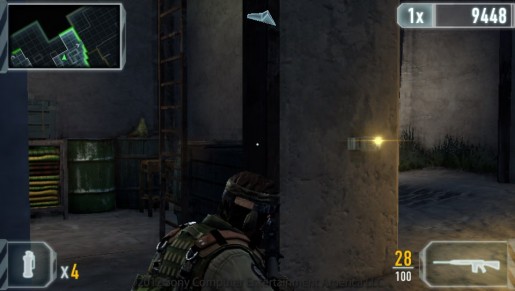
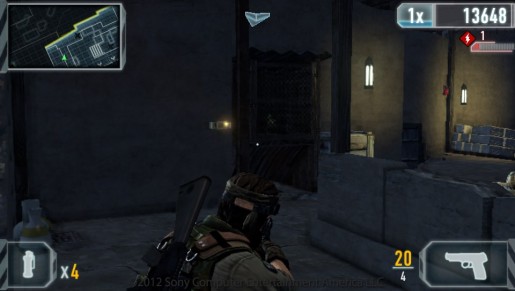
Before entering the next area, take out this C4. I suggest disarming it, but it needs to be done in some way.
Alert the enemy in this room and kill him. This will most likely be an ongoing cycle, but there is a finite number of enemies. This will make the decent easier.
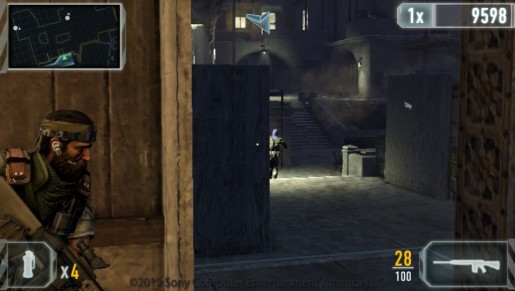
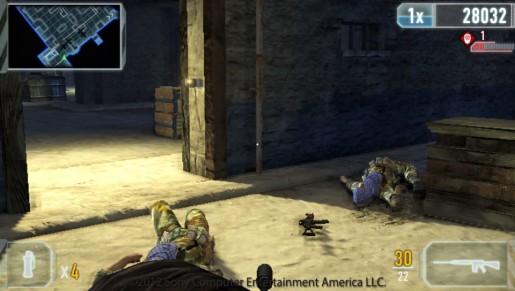
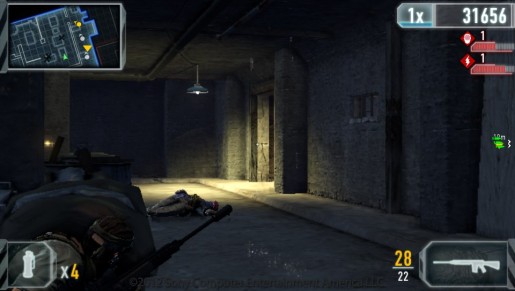
After you kill the waves of enemies, get ready to kill these two guys. Once they’re dead, you will most likely alert another group, so hide somewhere.
This is the second group that attacked me, so just be aware they might rush you. In either case, disarm the C4 before entering the room.
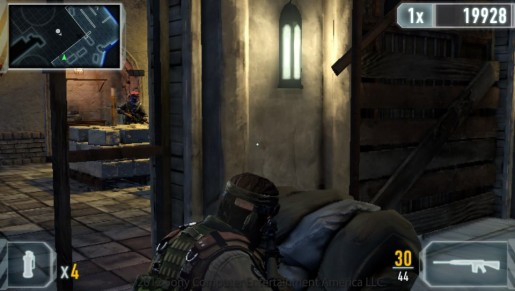
Slowly enter and kill these two enemies quickly. If you do it right, you won’t alert the other guy.
Slowly advance on him and pick him off.
One you exit this room, you will encounter the HVT. If you have a grenade you can make quick work of him, but if not you’re going to need to fight off waves of enemies.
I had a lot of luck campi


