
Back when Enter the Gungeon was new and I was getting a ton of hits on YouTube, I remember someone post that data miners found things that suggested the Resourceful Rat would be a boss sometime in the future. Now, roughly two years later, that is a reality, but taking revenge is a lot easier said than done.
Required Items
- A very good build
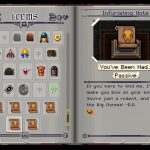
- At least four infuriating notes
- The gnawed key
- One key
- Two blanks
- And some patience
Getting to the Lair
There are two puzzles you need to complete before fighting the Rat. The first is locating the lair, with the other finding your way around a maze. Thankfully, both are pretty simple though it might take you a couple tries.
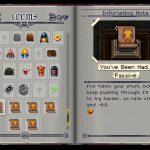
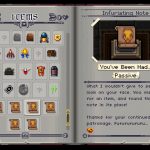
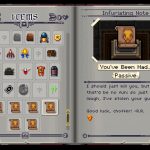
Before bothering with the lair you need at least four infuriating notes (I think five requires you to enter the lair and the last one is exclusive to a mimic). These tell you how to navigate through the maze, so without any it’s a one in 1024 chance, where as four is only 16. Upon getting those, which should come naturally from opening chests, your next goal is to buy the gnawed key.
-

- First time
-
- Every run after
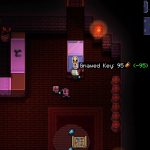
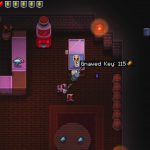
The gnawed key required 1000 to buy, though it’s a cumulative amount. So, one run you can contribute 50, another 300 and so forth. The best way to get it is to unlock the vampire on the second floor and after finishing everything besides the boss, unless you’re confident in your skills, and then trade all your health for cash. This will give you like 24 per half heart, making it an easy 100 or so towards the key. I would then donate it, piss off the shop keeper to unlock a Payday item and then die, repeating it until the key is cheap enough to buy. The last trick is to lower the price to something you can pay regardless of what happens and then wait for a decked out run. If you do purchase it and fail, it will be sold for the more reasonable price of 120 or so. You can also steal it if that is easier.
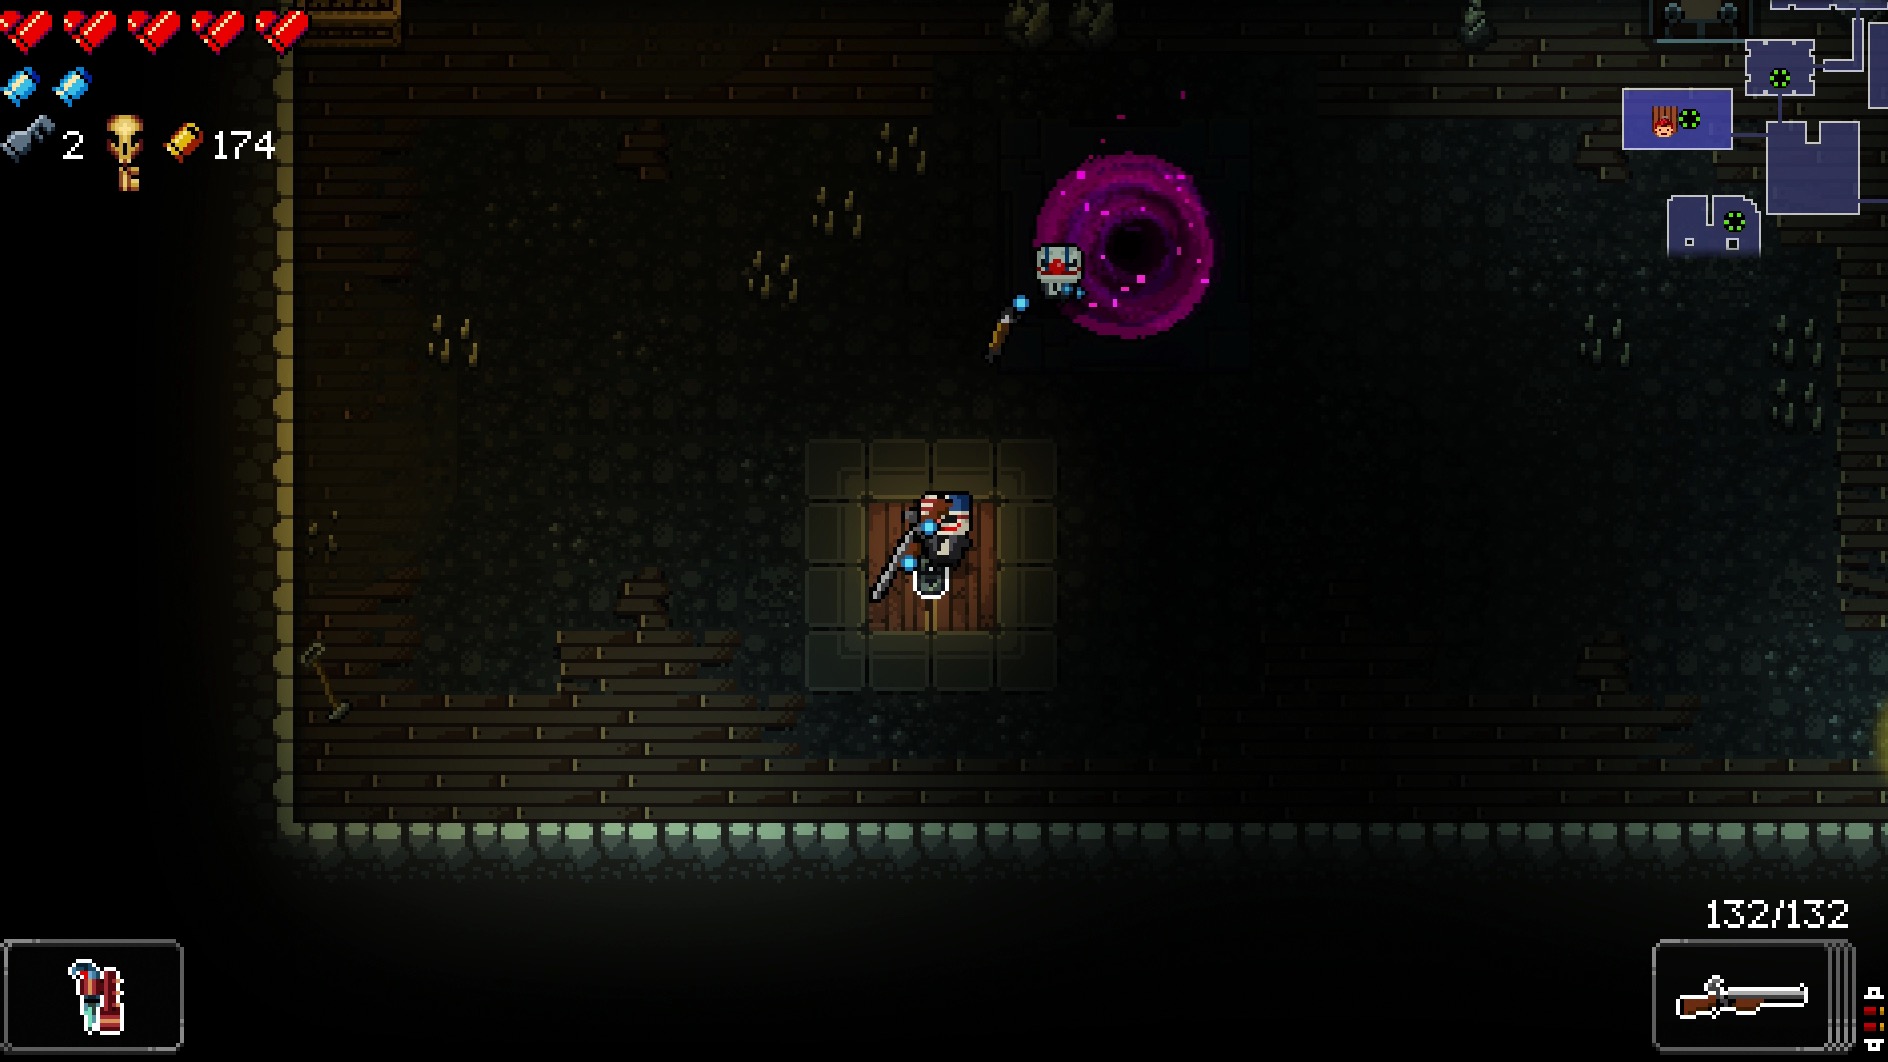
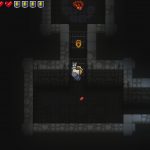
Once you collect all these items, it’s time to actually find the place. Locating it can be hard, since there is a small chance a hidden room will have the gate but what you need to do is find a room with rats in it and then locate a hidden door on the floor. Walking around long enough should reveal it and then you can either use a blank or keep moving until it appears. Please note, you need two blanks to reach the objective, so don’t use one unless you have to. I suggest finding it before leaving that room, since it will mark the location with a gate and then you can finish doing whatever you need to do.


After opening the door, a task that requires one regular key, you need to get to the end of the mine cart track. Don’t worry about doing anything, since it’s a straight shot, besides using a blank at the end of the road. This should reveal a hidden path on the north side of the wall, followed by another dead end. Use yet another blank to reveal that path and you should find a room with a weird lock. This requires the aforementioned gnawed key to open, which will lead to the Rat’s lair.
Navigating the Maze
The maze itself is simple, yet complicated. After dropping down a hole, players need to look at their notes and see which direction their cheese is pointing. In my case it’s right, right, left, down, left and finally left. By entering the doors in this order you’ll make it to a resupply room with two life items, a full ammo box and a partial ammo box. I suggest trying to make it there taking as little damage as possible but it can be hard. Thankfully, most rooms are pretty doable, with only a few being bad.


For those with only four notes, you basically need to guess the correct direction. Sadly, the game won’t tell you if the path you choose is right or wrong, so keep trying until you get more notes or figure it out. Again, there are only 16 possible paths, meaning it will take up to 16 attempts to guess it with four notes.
Fighting the Rat
Phase One
The first phase is certainly doable. Quick attacks typically have a safe spot right next to you, with the wall attack having openings and/or enough time to dodge after dodging. I suggest saving your highest damage weapon for the next phase, unless you have enough ammo for both, since the next part is what is actually difficult.
Phase Two
What makes the robot challenging is the number of tough patterns. I strongly suggest moving away from bullets during the circle jump part, followed by using a blank before having to jump into a circle. From there, the ideal attack is the enemy spawn, with the others relying on good timing or fancy footwork. Typically, the issue isn’t enemy attacks, but rather, your attack is so low it increases the duration of the fight, ultimately causing you to fail. Old King works in a similar way.

Phase 3
At this point you’ll earn the trophy, unlock the ring and won the fight. However, you need to play a round of Punch-Out to earn loot. This fight isn’t bad, it just requires a good understanding of the mechanics and not breaking during the pressure. I forgot about the block, something that likely would’ve helped me win the fight, though winning isn’t required for anything besides loot.
Getting Loot
Depending on how you do you’ll unlock a variety of items and keys. There is a total of six possible key drops, four of which can be used to unlock the full rat set and the other two can open the path to the serpent. If you want to fight the new advanced boss and have two or more keys, I strongly suggest finding the serpent room and feeding it a couple guns. Especially since lock pick seems to work 100 percent of the time, with players having the ability to use the drill, so you can get at least two pieces without any keys.
-

- Find the secret passage
-
- Use the rooms blank to unlock it
To find the serpent room, simply shoot the place and you should find a wall that needs a blank to open. I believe you can use the blank anywhere, I just suggest doing it that way to ensure you find it. Unlike the chests, these absolutely require a key to open.
Trophy/achievement hunters might want to consider saving before heading to the fourth floor, something I did, since it actually took me back to the first and allowed me to replay the game. This will give players a chance at Lead God and enough firepower to go into the advanced fight with confidence. But there are no wrong choices.
Video Guide
If you find something confusing or just want to see most of it, here is a brief video showing you how to get there, save buying the key and actually locating the hatch (it’s boring watching someone walk around a room looking for it) and the fight itself. Needless to say, it is not an impressive run but winning is winning.