
Now that the PlayStation 4 requires almost all games to be installed onto the hard drive, the 500GB hard drive that came with the system will most likely be used up in the coming months as more games come out.
One of the cool things about the PlayStation 4 is that it allows you to upgrade your hard drive, unlike the Xbox 360 and Xbox One. As long as you get a laptop hard drive, you can install it on your PlayStation 4 to increase its space, allowing you to download more games without the stress of figuring out what games to delete when you hit the 500GB mark.
Please note that SSD drives are also compatible with the console. Those who are wishing for a little more speed when it comes to loading games from your hard drive, you can opt and buy a SSD, though expect to spend more money. Only hard drives or SSDs over 160GB can be installed on your PlayStation 4.
Are you ready to upgrade that hard drive? Here’s our guide:
How to Replace/Upgrade your Hard Drive
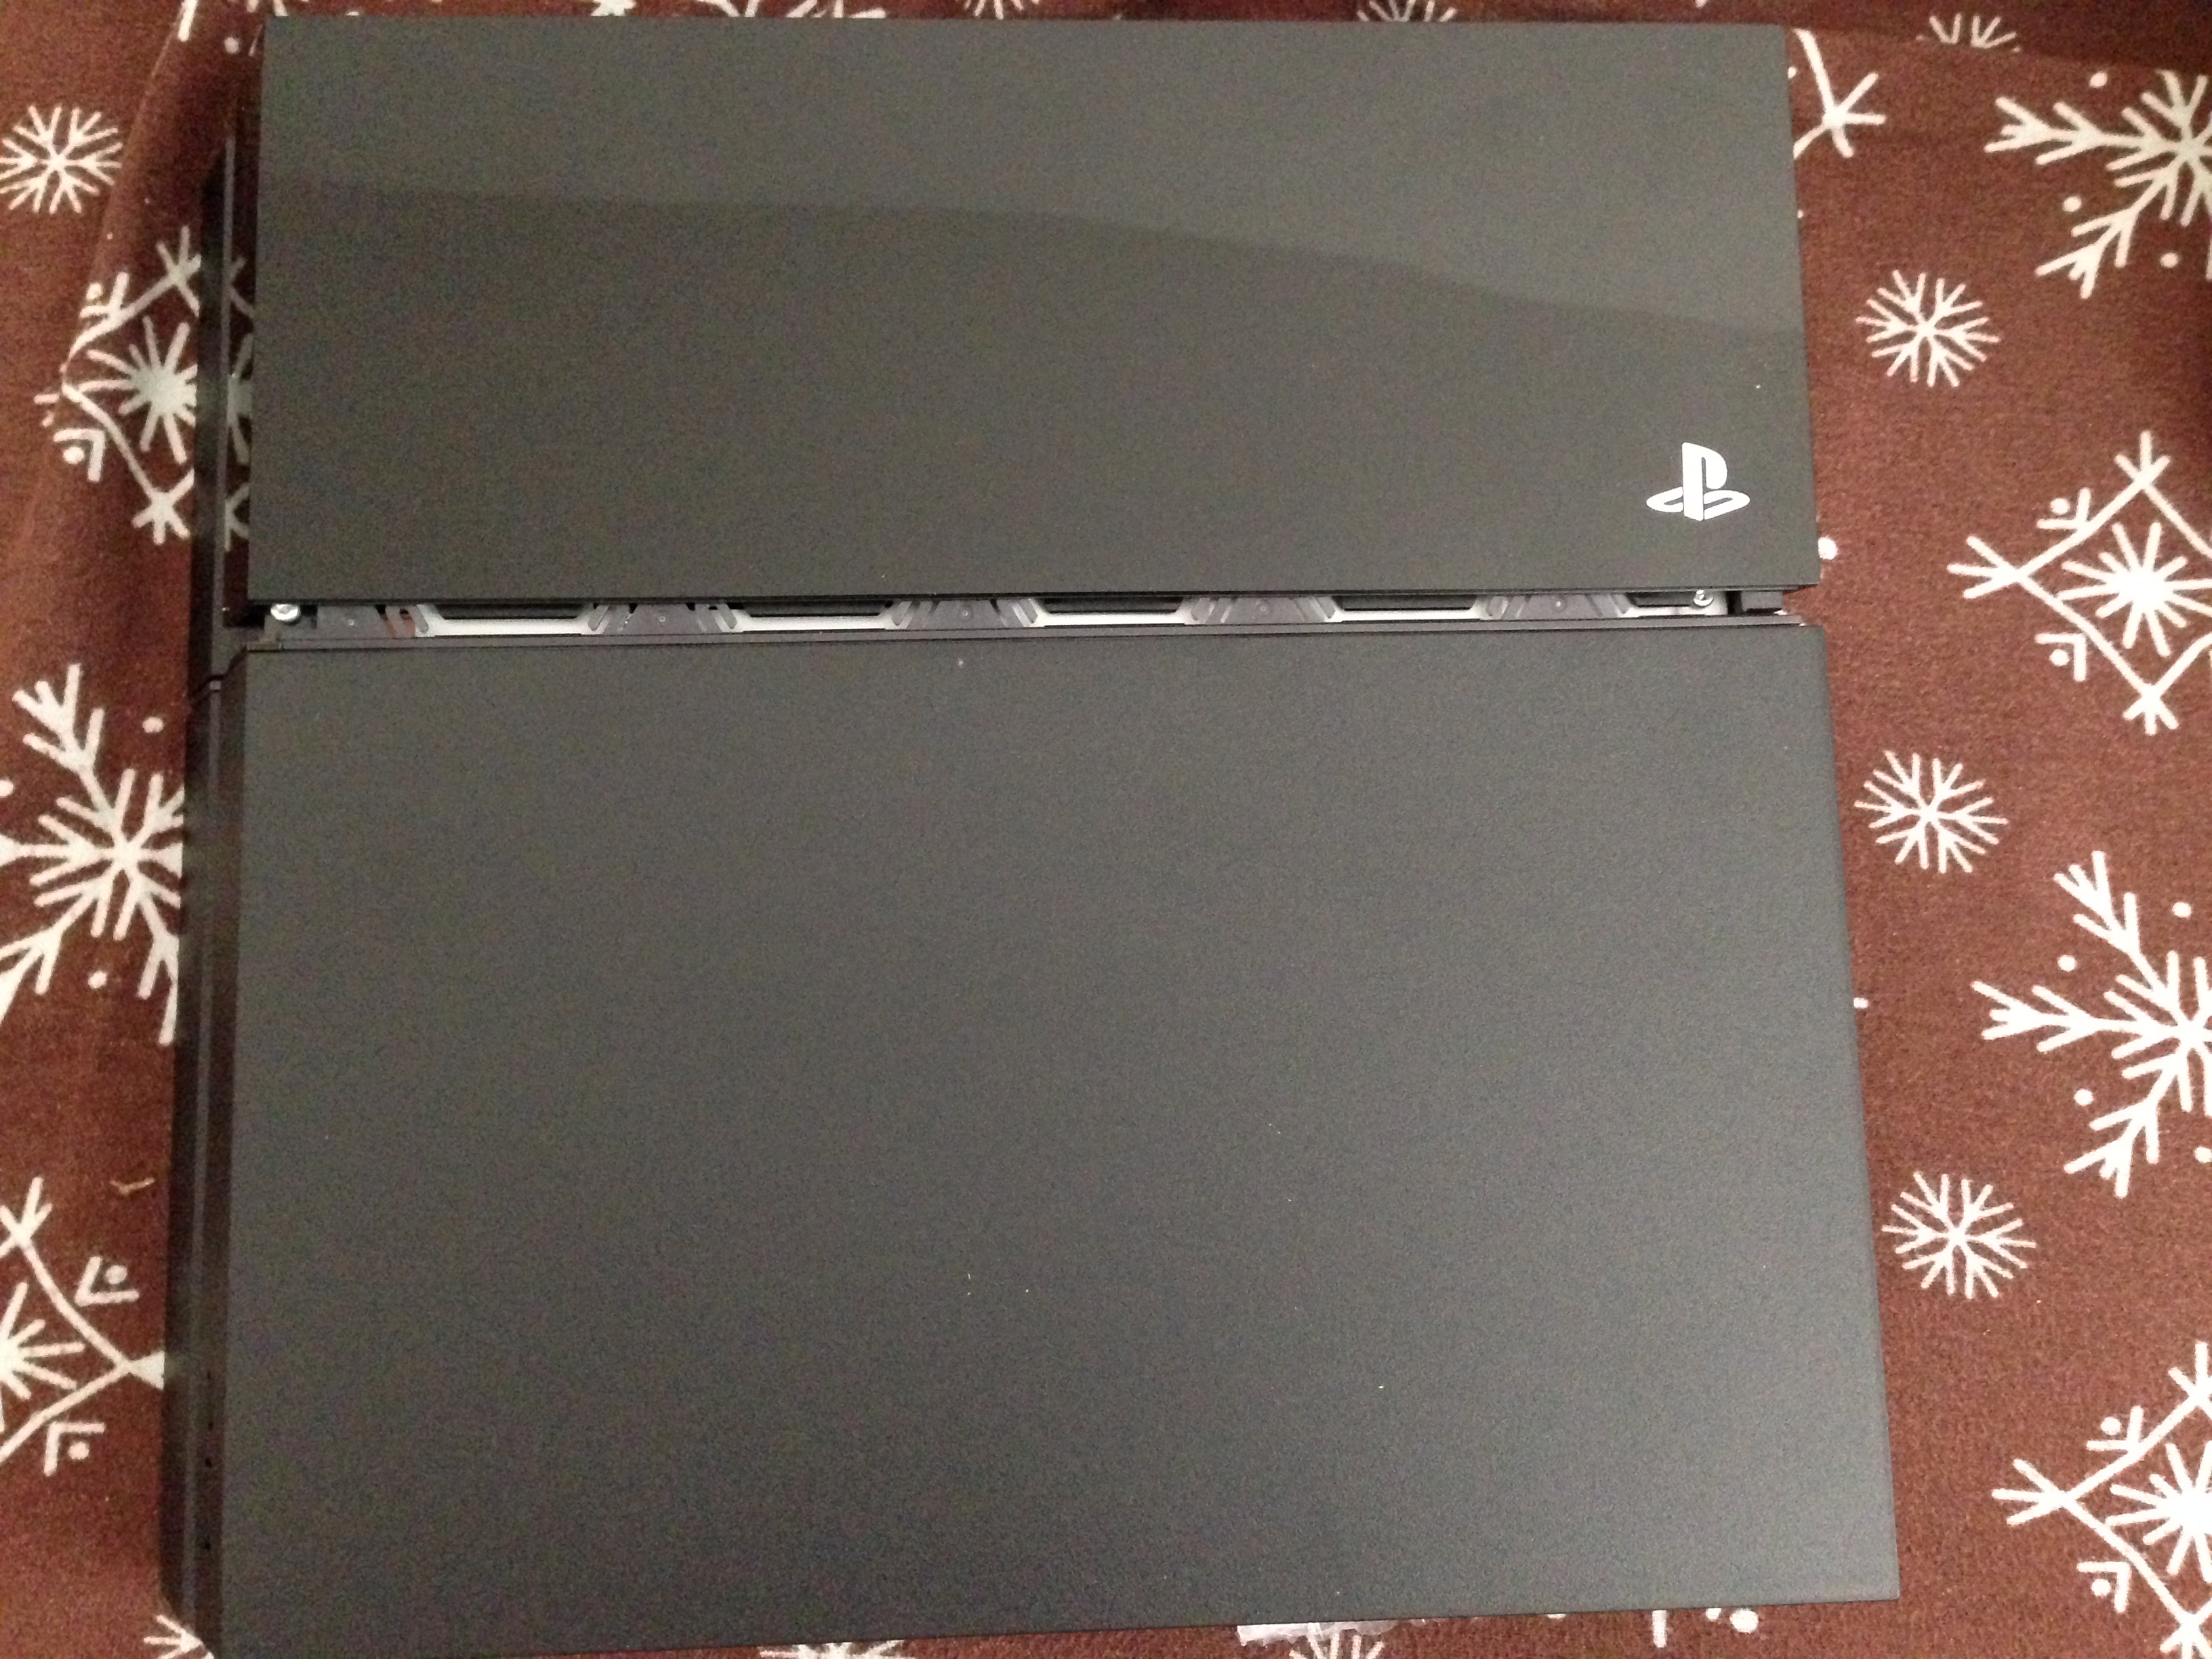
1. To replace your hard drive, look for the shiny/plastic section of the console where you see the PS4 Logo.
2. Slide the shiny cover away from the PlayStation 4 to your left side. You will then reveal the hard drive cage.
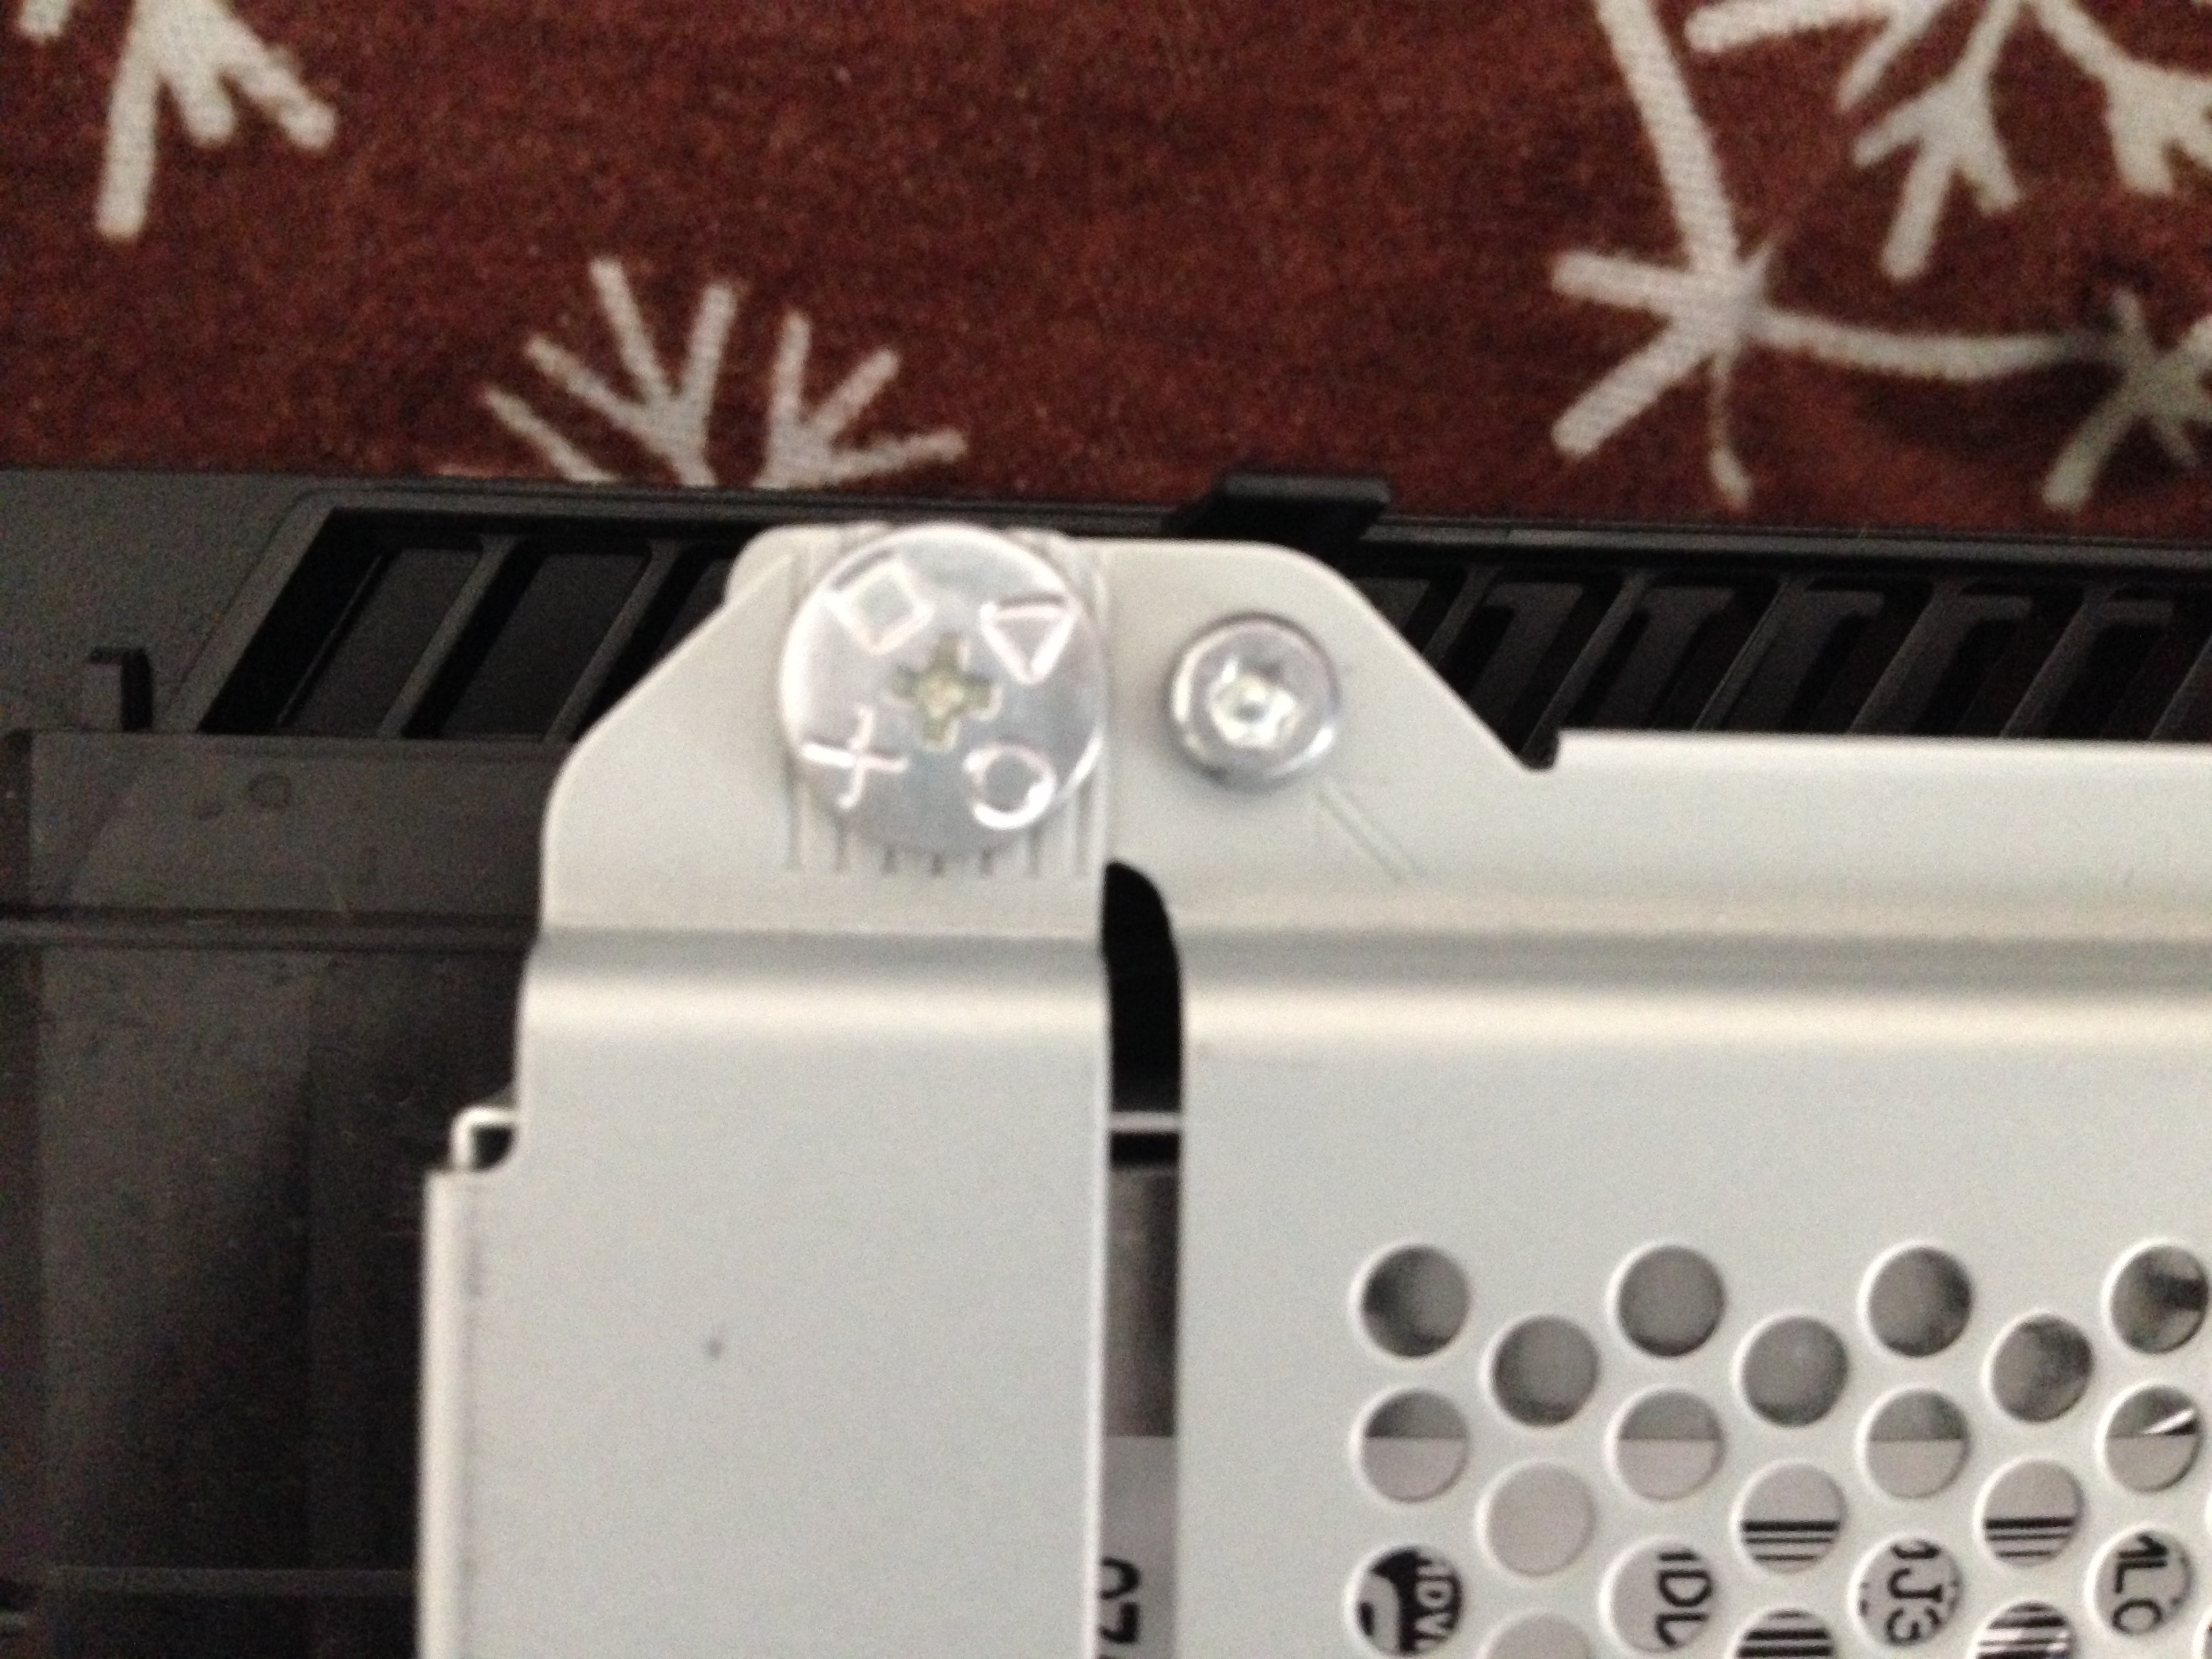
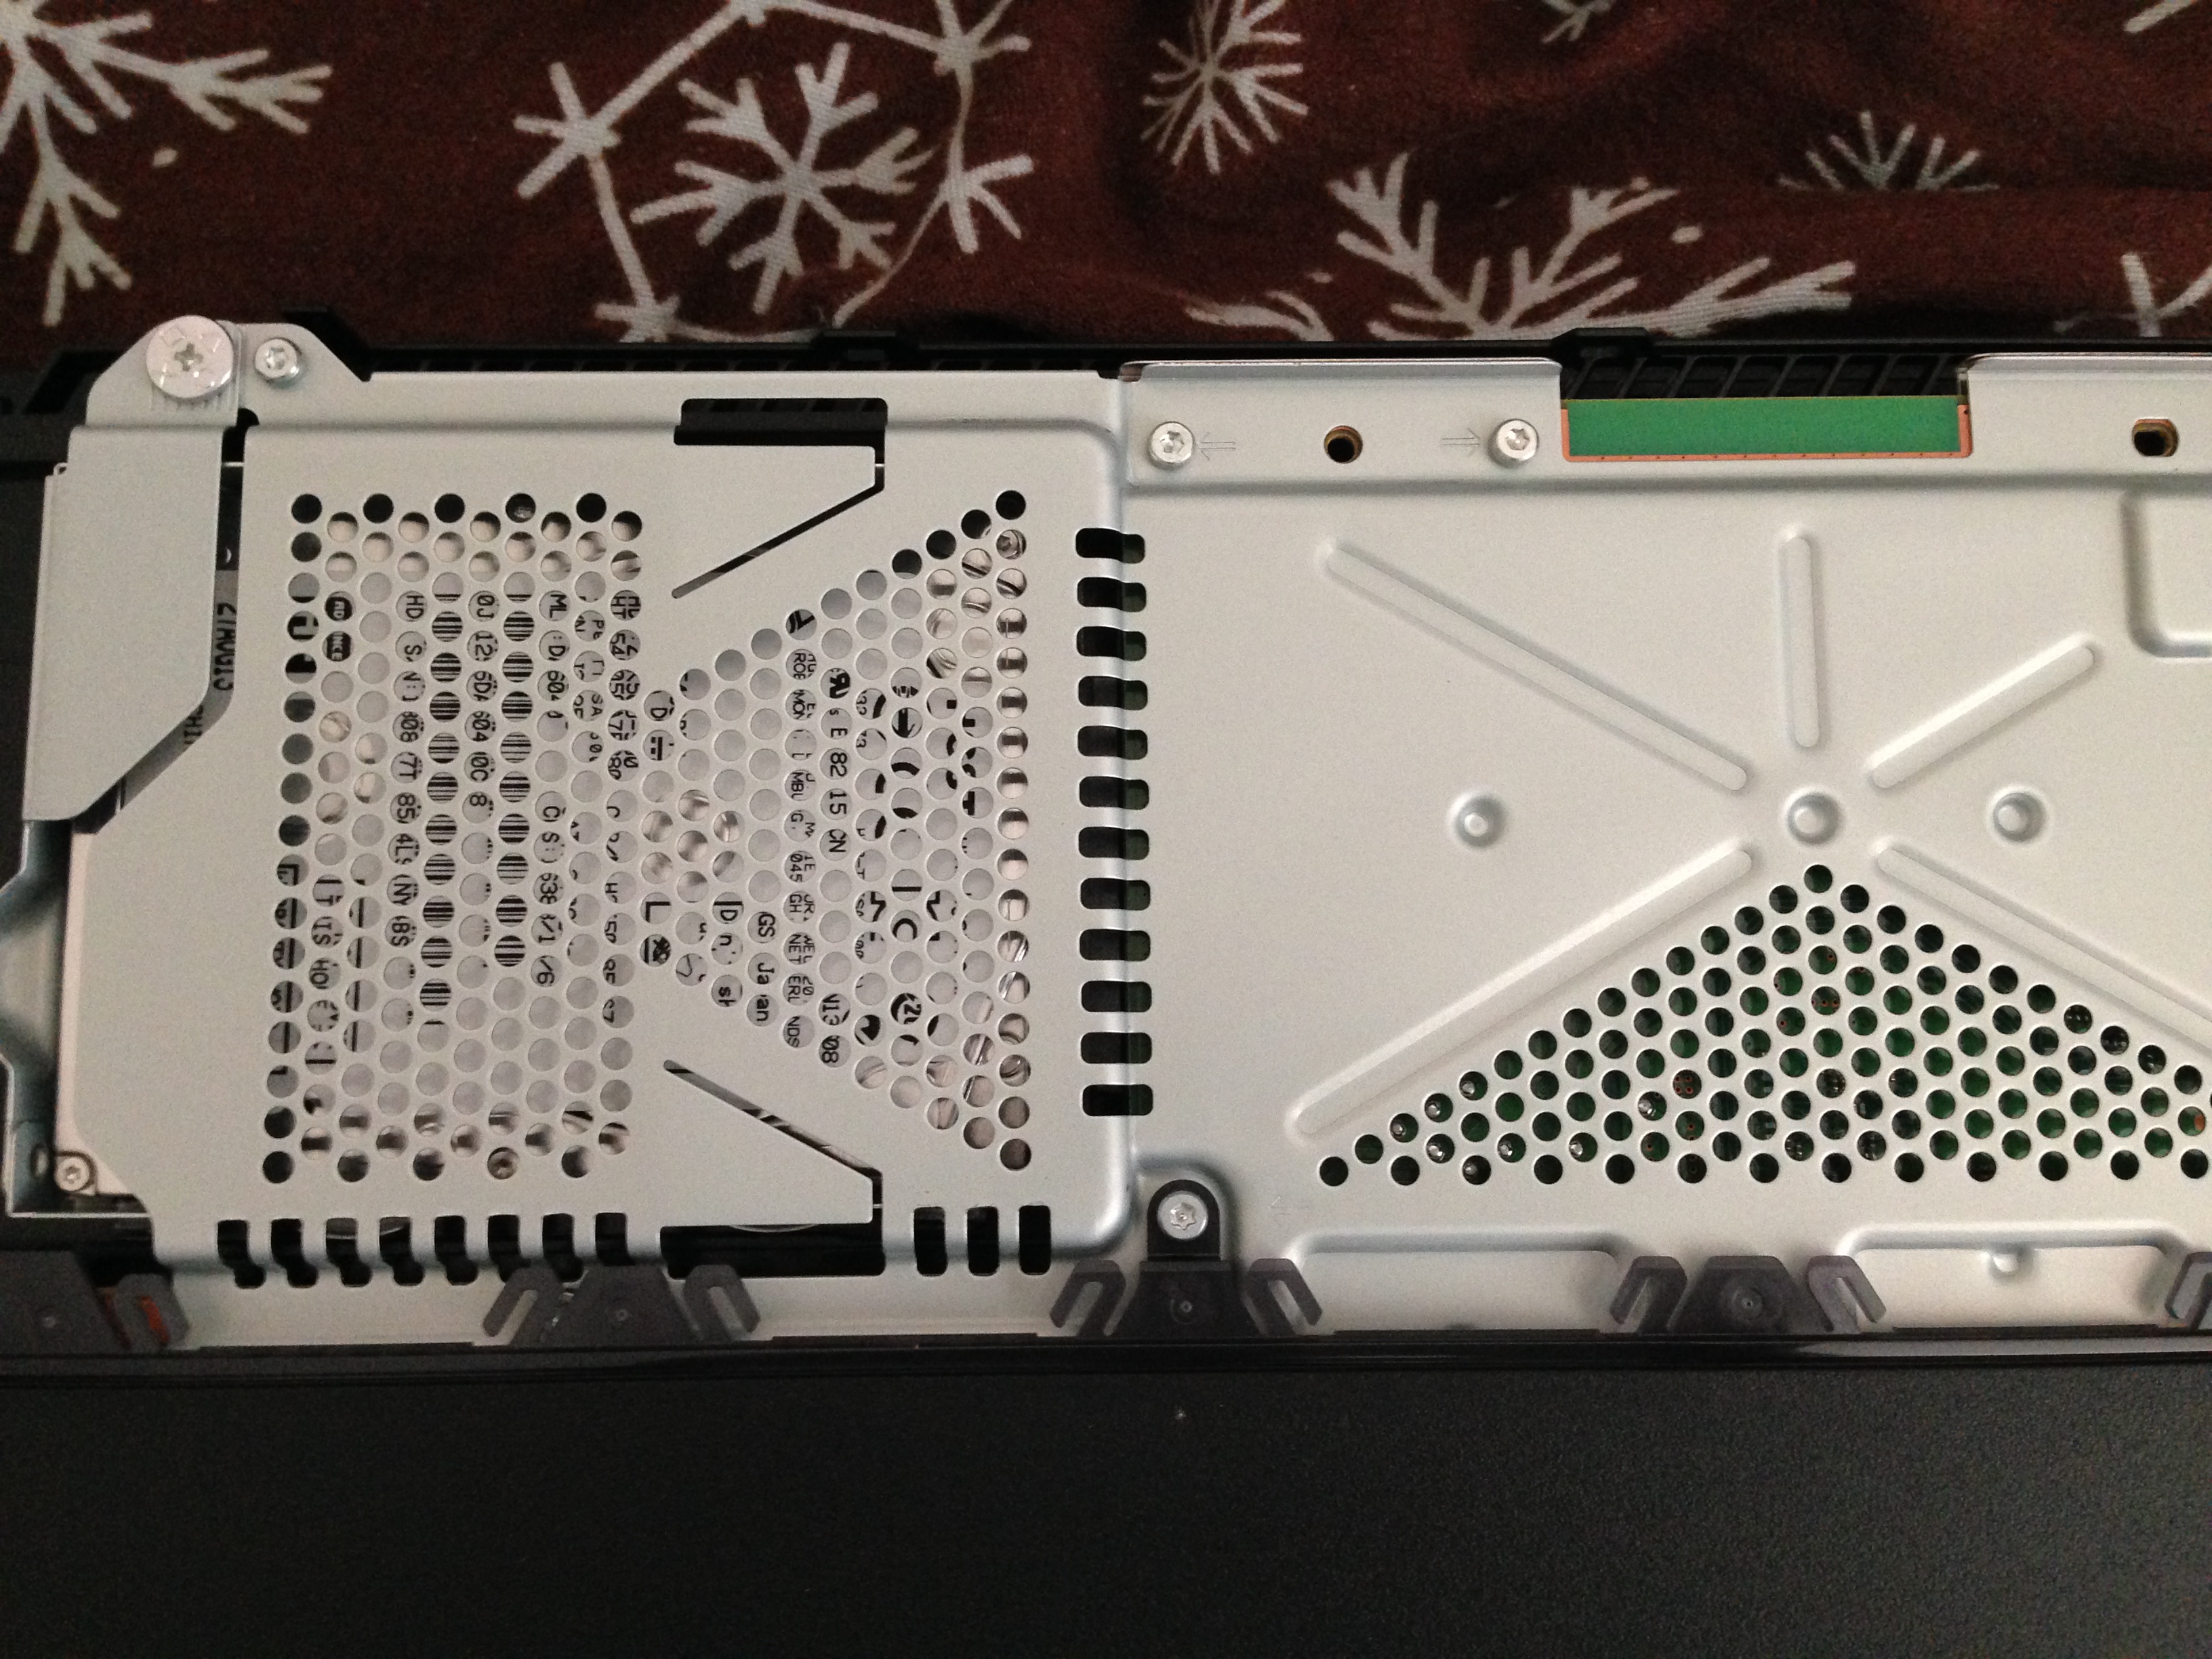
3. You will see bunch of screws inside. Don’t stress yourself! You only need to remove one in order to take the hard drive out. Look for the screw with PlayStation button icons at the corner facing you.

4. Once you remove the screw, remove the hard drive from the SATA port.

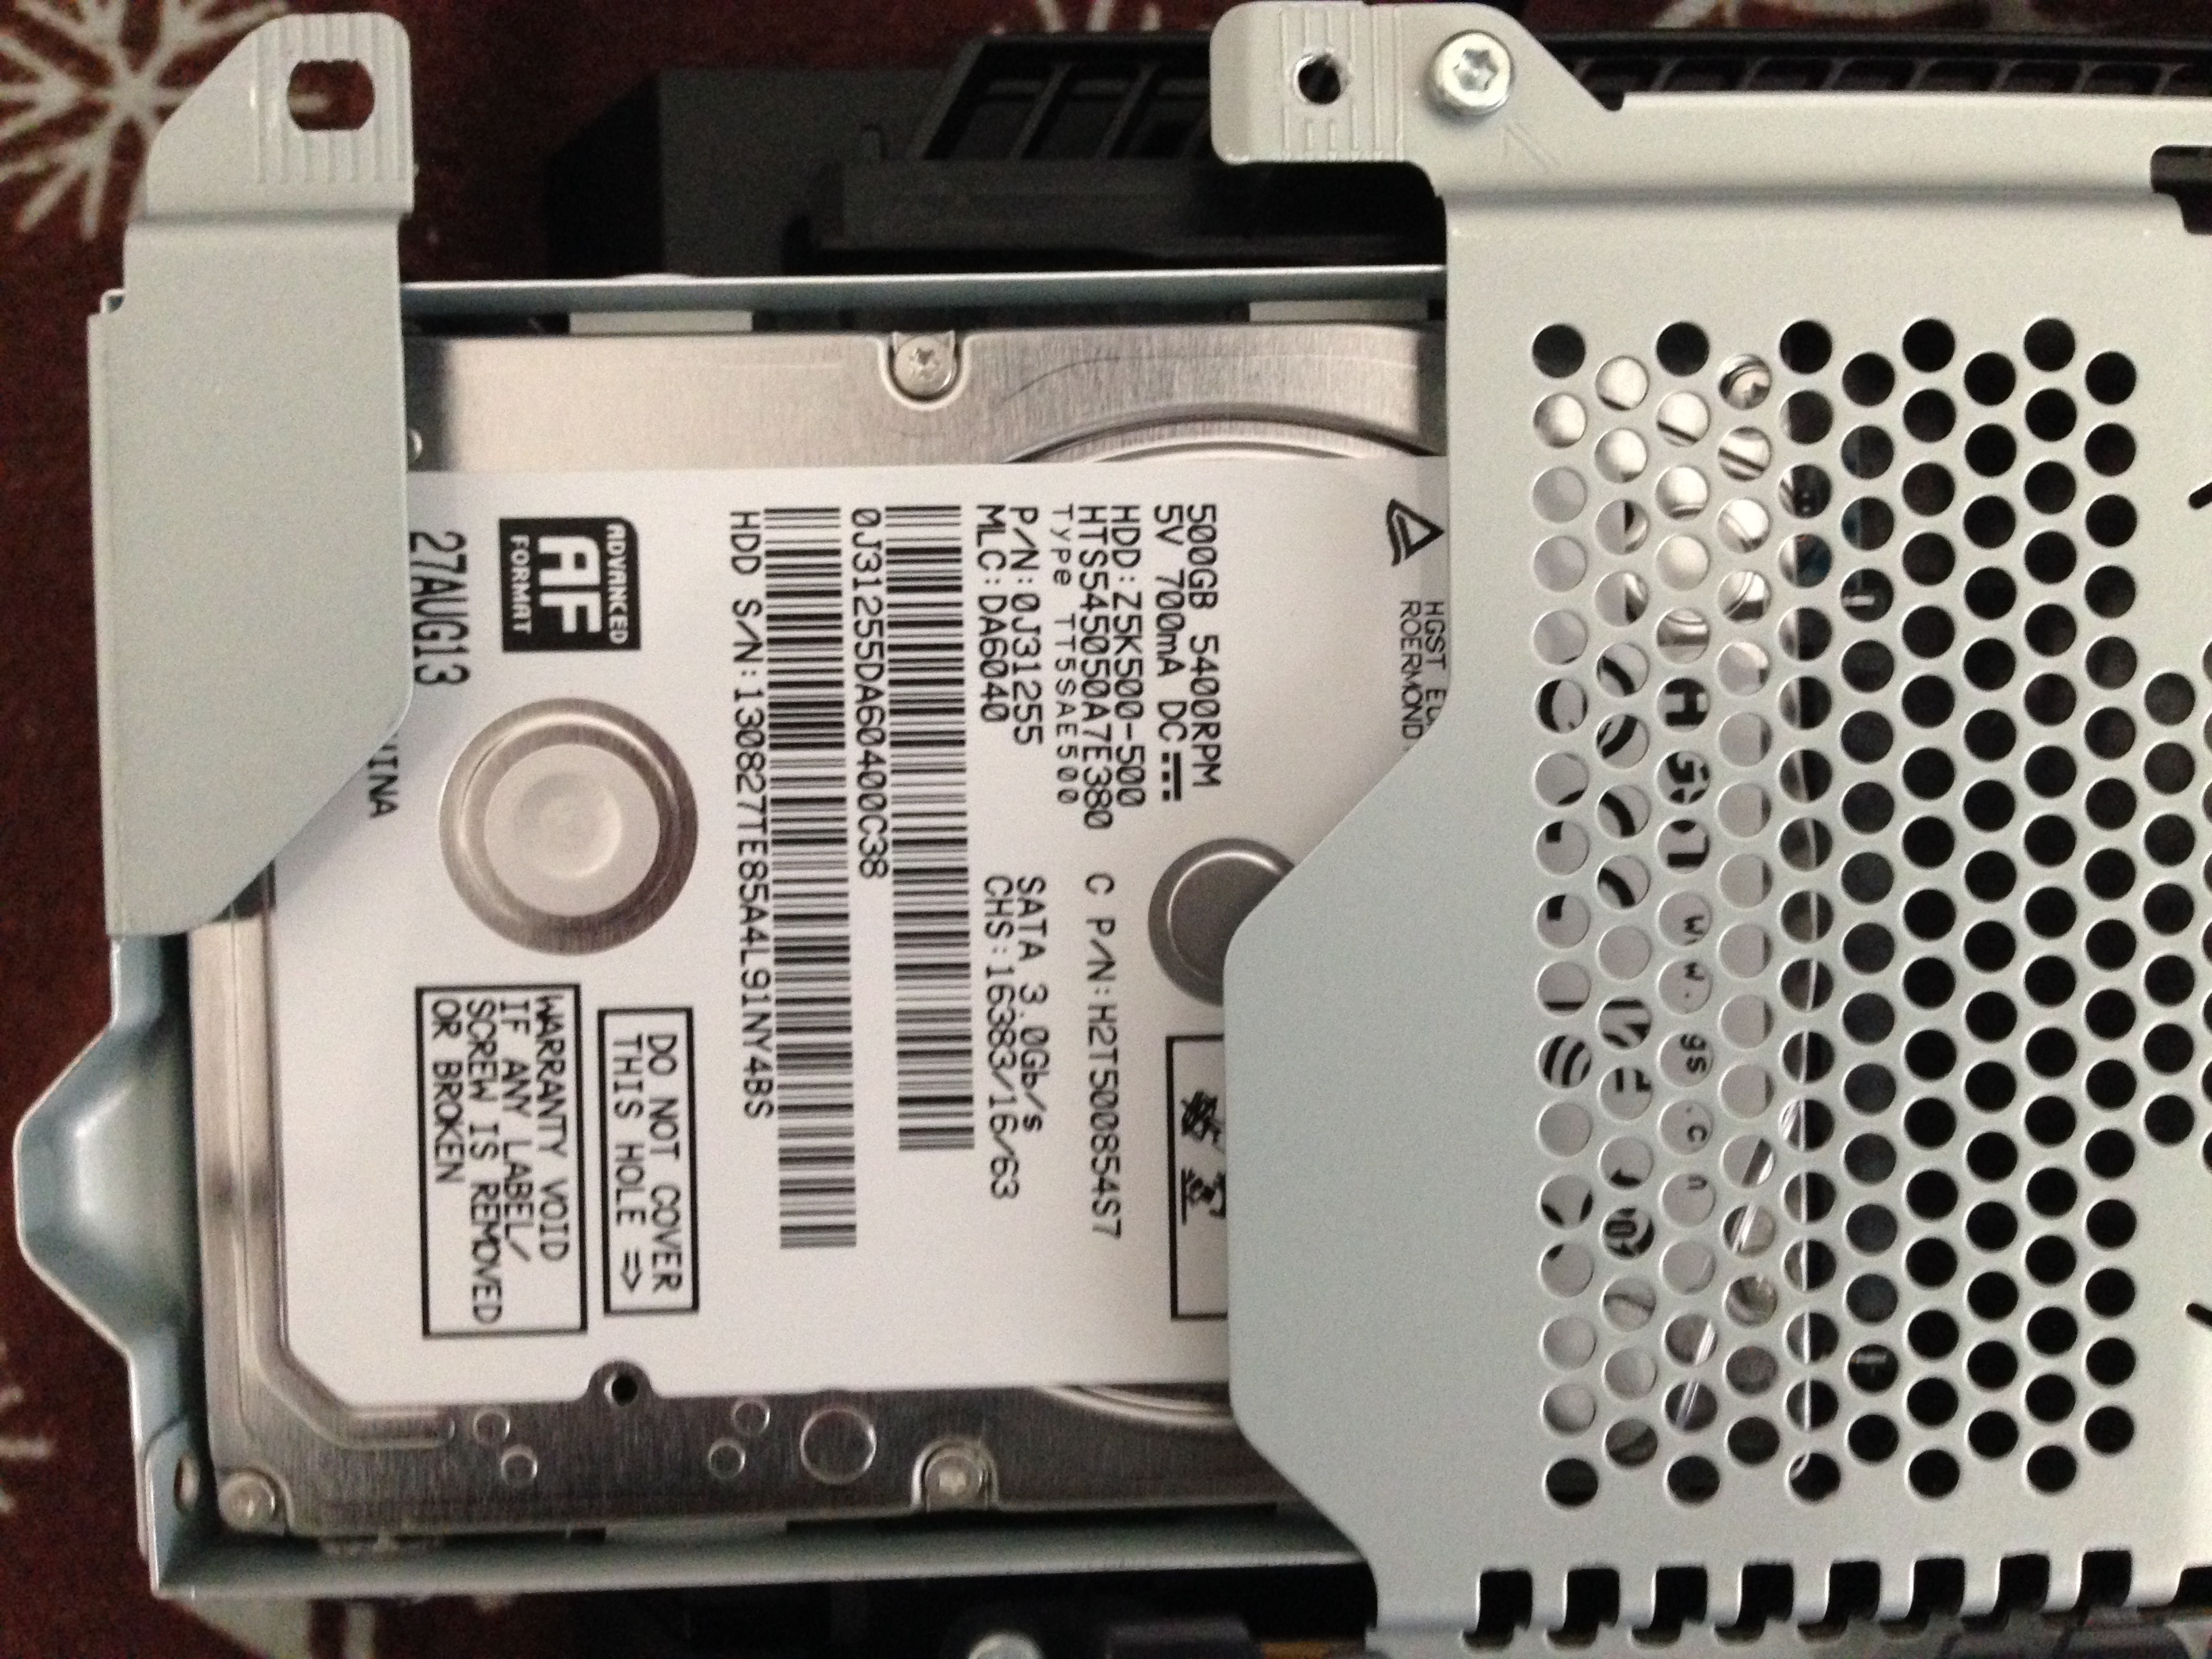
5. Once you get the caddy out from its cage, remove the four screws holding the hard drive. Replace it with your standard HDD/SSD and put it back in.
Installing the Firmware
1. Since you replaced the hard drive, you will need a fresh install of the firmware.
2. Download the 859MB firmware at Sony’s official website.
3. Once downloaded, get a flash drive that is formatted to FAT32.
4. From the root, create a PS4 folder. Then inside the PS4 folder, create the UPDATE folder.
5. Take the PS4UPDATE.PUP file and drag it inside the UPDATE folder.
6. Now, put your USB flashdrive onto your PS4.
7. Hold the power button for at least seven seconds and you will enter the console’s SAFE MODE.
8. Now restore the firmware!
Kevin Gwalla
December 23, 2013 at 3:55 AMBest advisers here!