
Kerbal Space Program is a complex game with a confusing array of different elements that this guide aims to make a little less daunting for newcomers.
In Kerbal Space Program there are currently no set goals, but that doesn’t mean there is nothing to aim for in the game. With a wealth of planets and moons to visit, the possibility of building space stations and ground bases, rovers to drive around with and planes to fly it’s easy to be at something of a loss when you’re new to it. This first part of the guide addresses some design elements for a basic rocket intended to reach orbit and clarifies some of the terms and elements of the UI which are of particular importance.
While there are tutorials built into the game they’re a little out of date and don’t cover a few things which are very useful for actually making progress. That said, I do recommend that any new players go through at least the first two tutorials, as they quickly describe the controls which you’ll need to know in order to build and fly rockets.
Building Your Rocket
One important consideration that should be mentioned is that the tutorials state that in order to gain the benefit of the ‘Stability Augmentation System’, which helps you maintain a heading, you need a SAS or ASAS module. With the latest update this is no longer the case, and in fact those parts are no longer known by those names, with the SAS system built into all command modules, so you don’t need to worry about it.
Now it’s very easy to get carried away and add lots of the largest fuel tanks and engines but that normally leads to a very difficult to control and wasteful craft, with a far simpler solution generally being easier to fly. Below is a picture of a simple rocket that I’ve built which will reach orbit with a fuel to spare – building in redundant fuel to allow for mistakes is generally a good idea, especially early on. (Pro-tip: You may want to look at the enlarged version)
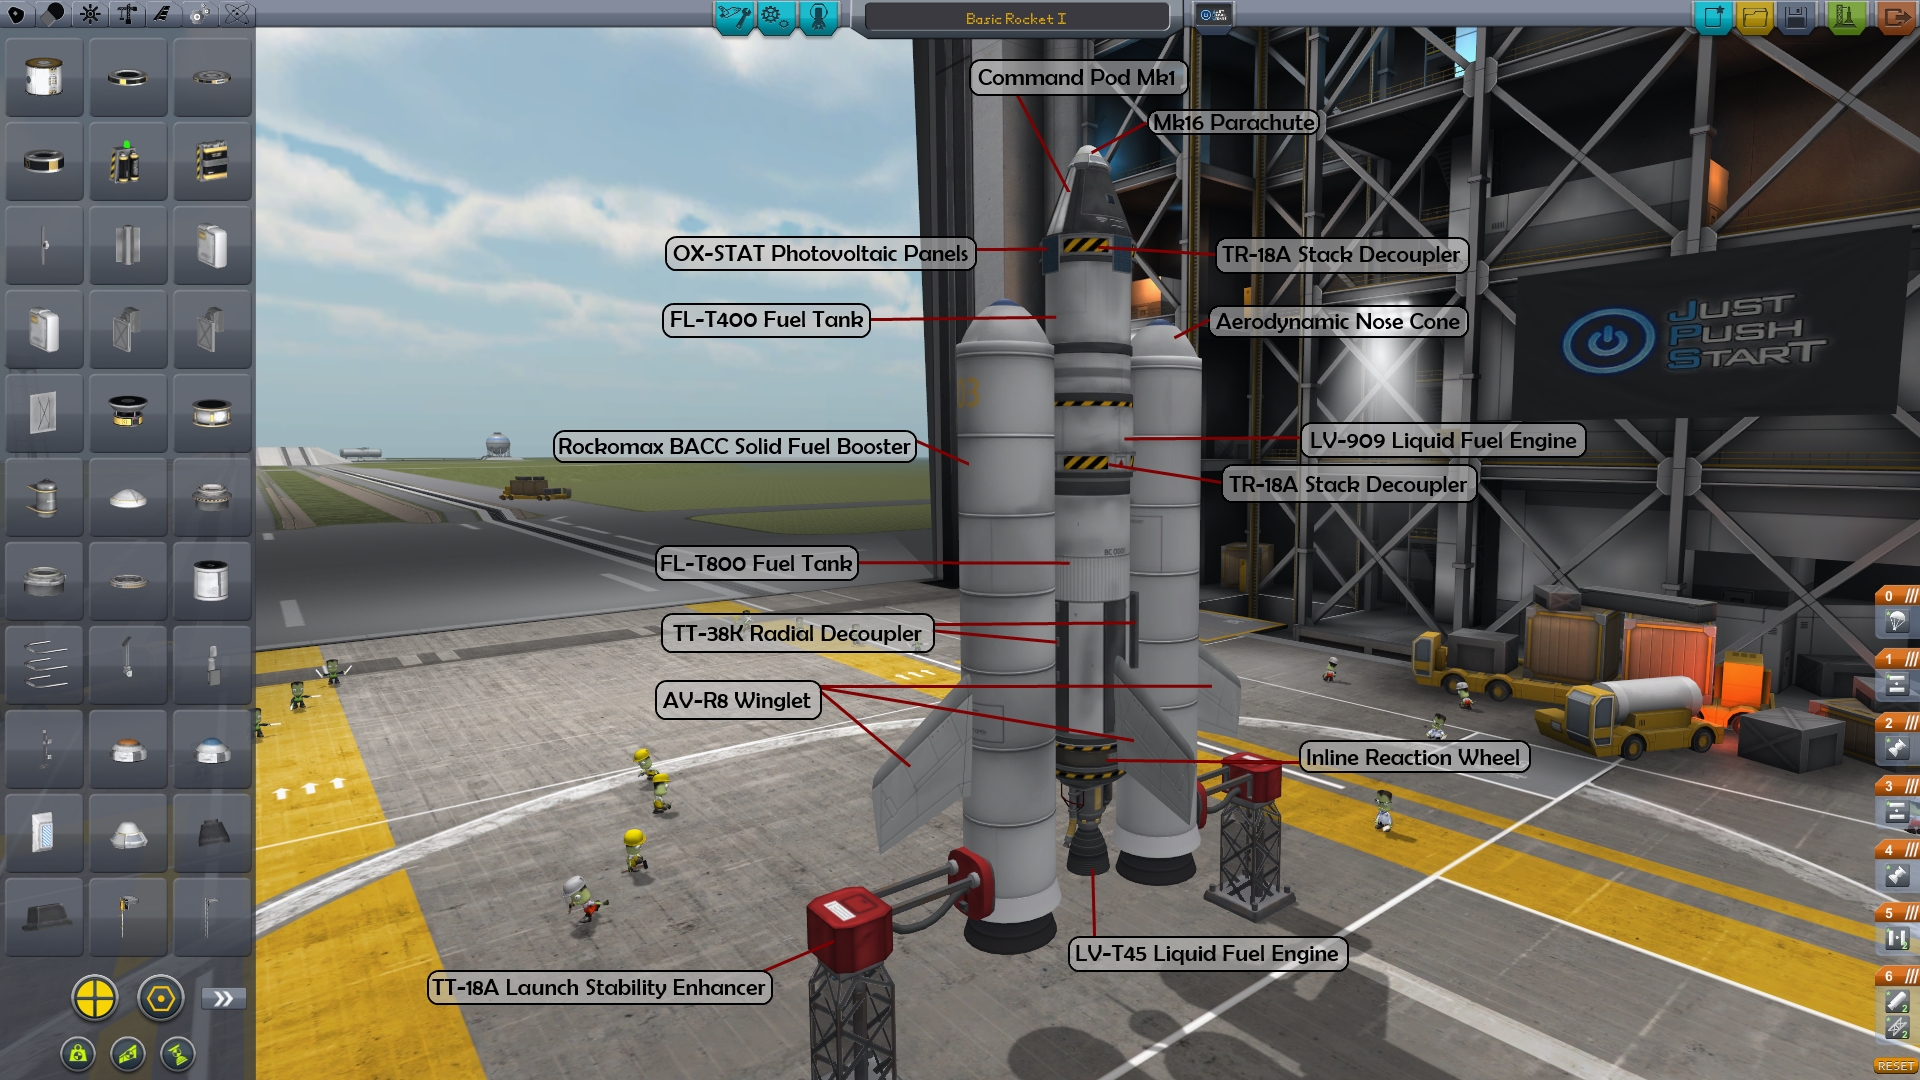
Now it may look like there’s a lot going on but once you get sticking parts together it really isn’t too bad. The main things to remember which aren’t so obvious are the solar panels to power the SAS, winglets and reaction wheels for control and, of course, a parachute; I’ve had many an ‘oh crap’ moment upon realising I’ve forgotten to put a parachute on.
There’s no reason to strictly build exactly that rocket, I’m simply using it as an example of the kind of thing you may want to start out with, so now I’ll go through a few things to think about when building your own designs. Firstly, when using solid rocket boosters (SRBs) bear in mind that you can’t throttle the thrust, nor turn them off once they’re activated (they’re basically just great big fireworks you strap to your ship), which is why they should mostly be used in the first stage of the launch to get off the ground. It is also worth checking when you use liquid engines whether or not they allow for ‘thrust vectoring’, which is changing the direction the nozzle faces to adjust the heading of the rocket, giving you more control – it’s useful for at least the main engine of your rocket to have this capability if you want to actually control where you’re going.
Before you can think about flying your rocket you need to be sure to check that the staging is set up properly. If you look at icons on the bottom right of the basic rocket picture, you can see that the SRBs and the launch clamps are on the first, initial launch stage. The next stages are to sequentially jettison the spent fuel tanks and the associated engines, until you’re left just with the command pod, with the final stage being parachute deployment. This is the basic rule to staging with most craft, so if things aren’t quite right then just click and drag them into place, adding stages if needs be by clicking the small ‘+’ symbol which will appear when mousing near the staging sequence display.
Staging is one of the most vital tools in your arsenal when building a rocket and the stage button (default spacebar) is one which you’ll be pressing many times. During flight, especially during launch, you’ll be burning fuel and therefore emptying your fuel tank, which means that over time there will be progressively more unnecessary mass in the form of these empty tanks. Instead of retaining spent fuel tanks it is more efficient to jettison them as they empty; to do this it is in most cases easier to dump the engines with the fuel tanks.
An added advantage to jettisoning the initial engines is that they can be replaced with smaller, lighter engines – on the ground you need powerful, heavy engines to punch through the thicker atmosphere, but as your altitude increases you can make do with less power allowing for more efficient engines, which is a strategy I’ve followed building the basic rocket in the pictures. When you are looking at an engine in the vehicle editor the quickest way to get an idea of it’s efficiency is to compare the Isp (specific impulse) values of various engines, bearing in mind what part of your ascent they’ll be used in to decide whether to compare the sea level or vacuum Isp values for the engines.
Basic Flight
Before you attempt actually going somewhere, we should go over a few elements of the user interface and some basic bits of relevant terminology which you’ll need to be familiar with to make a successful pilot. The most important part of the interface for flight is the navball, which is the big round central thing at the bottom of the screen; the ball moves within the frame, with the centre being your current heading. Reading the navball is relatively simple, with the blue half showing any facing above the horizon and the orange half any facing below, with degree markings allowing for more precision.
The navball is also where two very important markers are shown: the prograde and retrograde vectors. Your prograde vector is the direction in which you are moving at any given time, shown by a green circular icon, while the retrograde vector (shown by a green circle with a cross in the middle) is the opposite to this direction – directly away from your current motion. Another piece of information provided by the navball frame is a speedometer which will initially be showing your speed relative to the surface of the planet (ie. the speed of your orbit minus the speed the surface of the planet is rotating at), though this will change to your orbital speed once your altitude is sufficiently high.
All that should start to make more sense once you’ve actually get a craft in the air, so you might want to try out your rocket without the intent to reach space. A flight test to a relatively low altitude (normally around 10km or so) is something I undertake with most of the vehicles I build, allowing for a comprehensive test of the staging setup and I’d recommend that you do this for both that reason and to familiarise yourself with reading the navball.
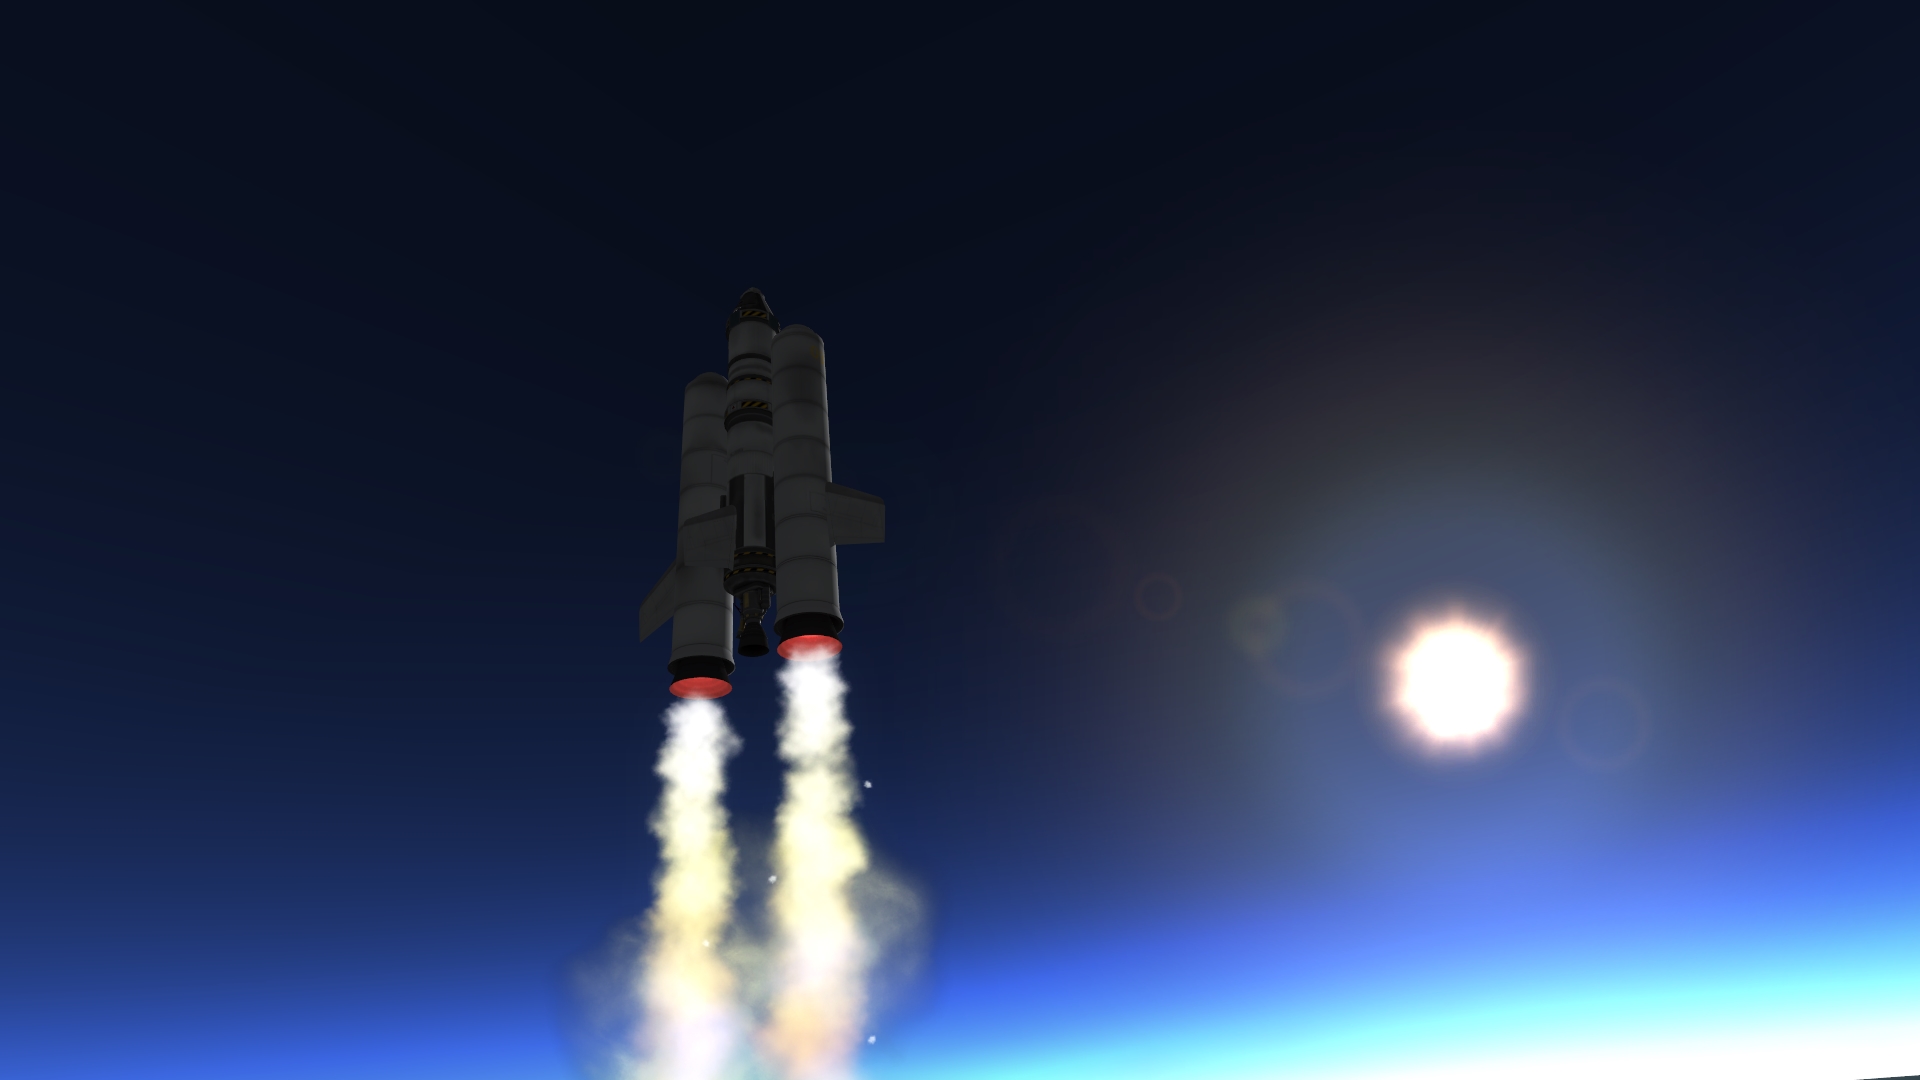
That concludes this part of the guide, so now you should have a reasonable idea of how to build a successful rocket and how to control it. Next time I’ll be covering how to reach space and then to stay there in a safe, stable orbit. Until then, happy flying!
KSP Guide – Your gateway to the stars
- Part 1 – Basic Rocketry
- Part 2 – Heading for Orbit