
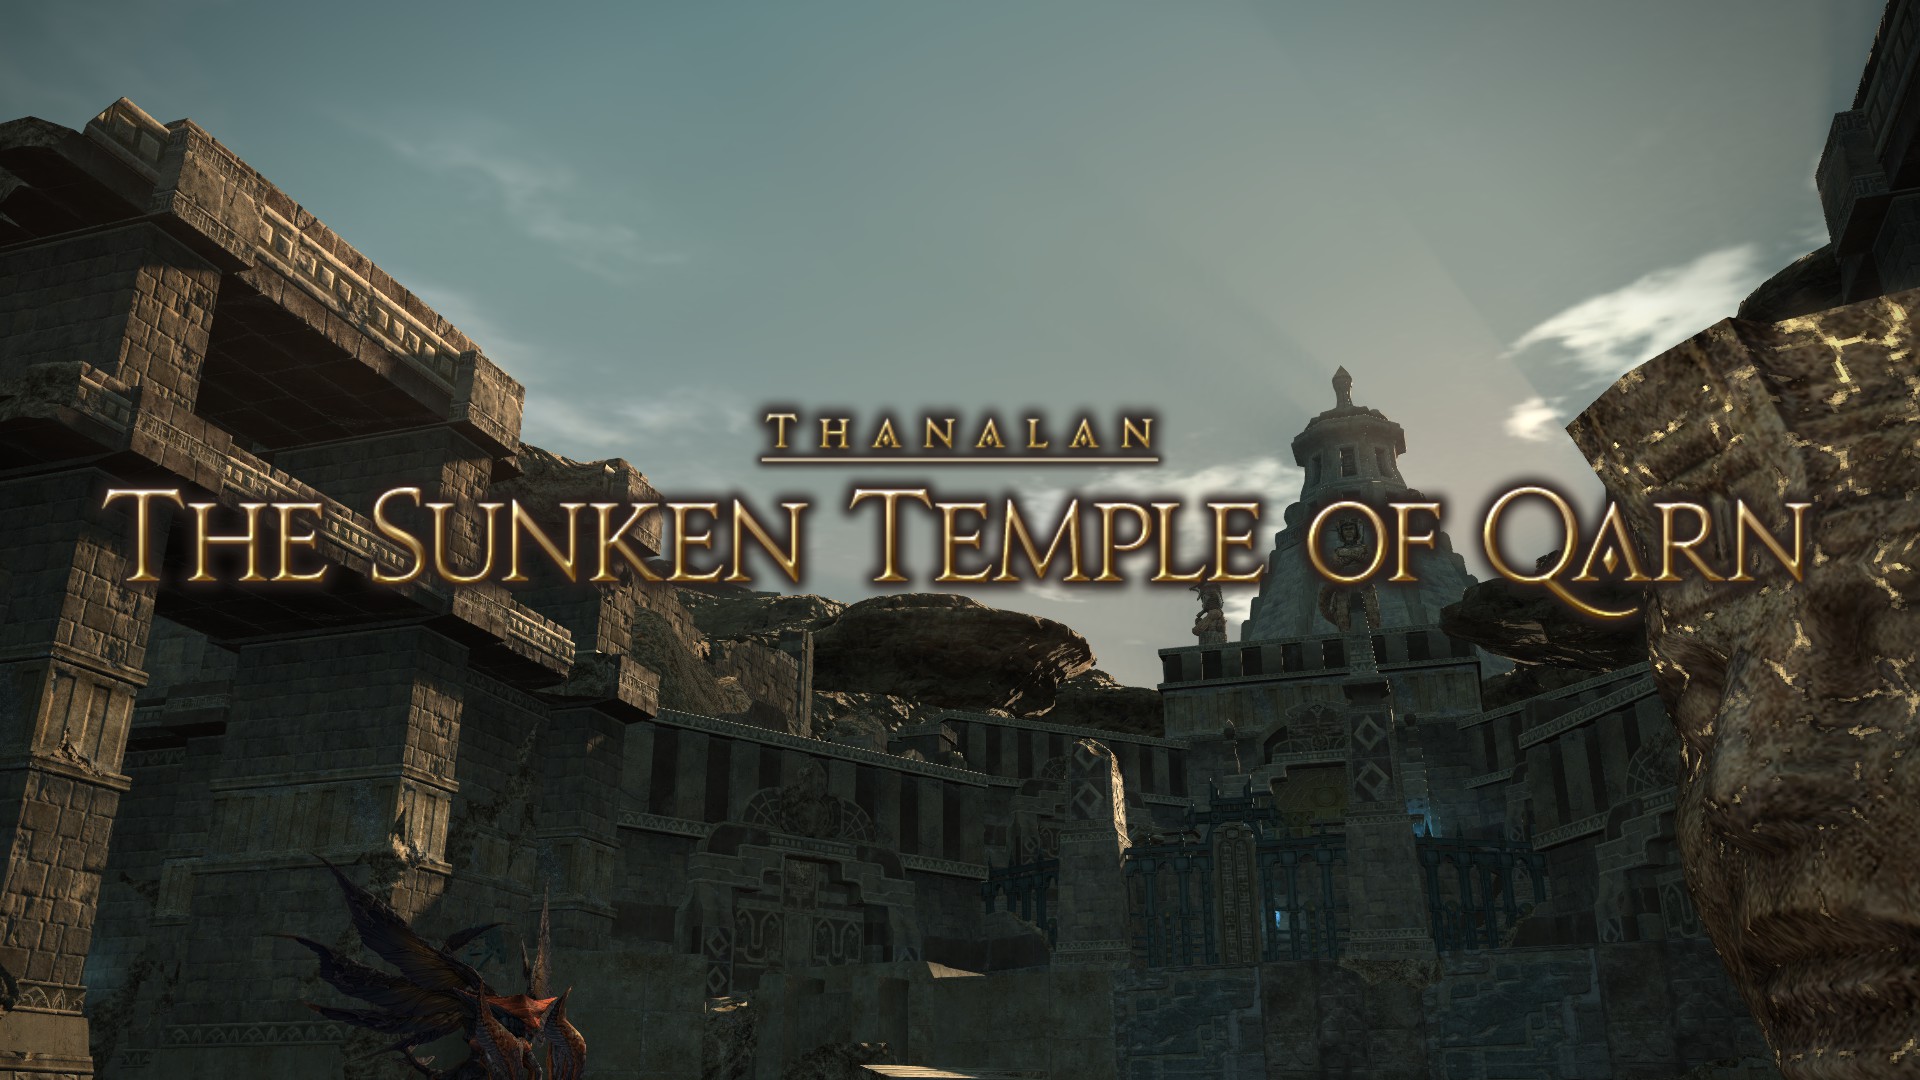
The Temple Guardian – Mini Boss
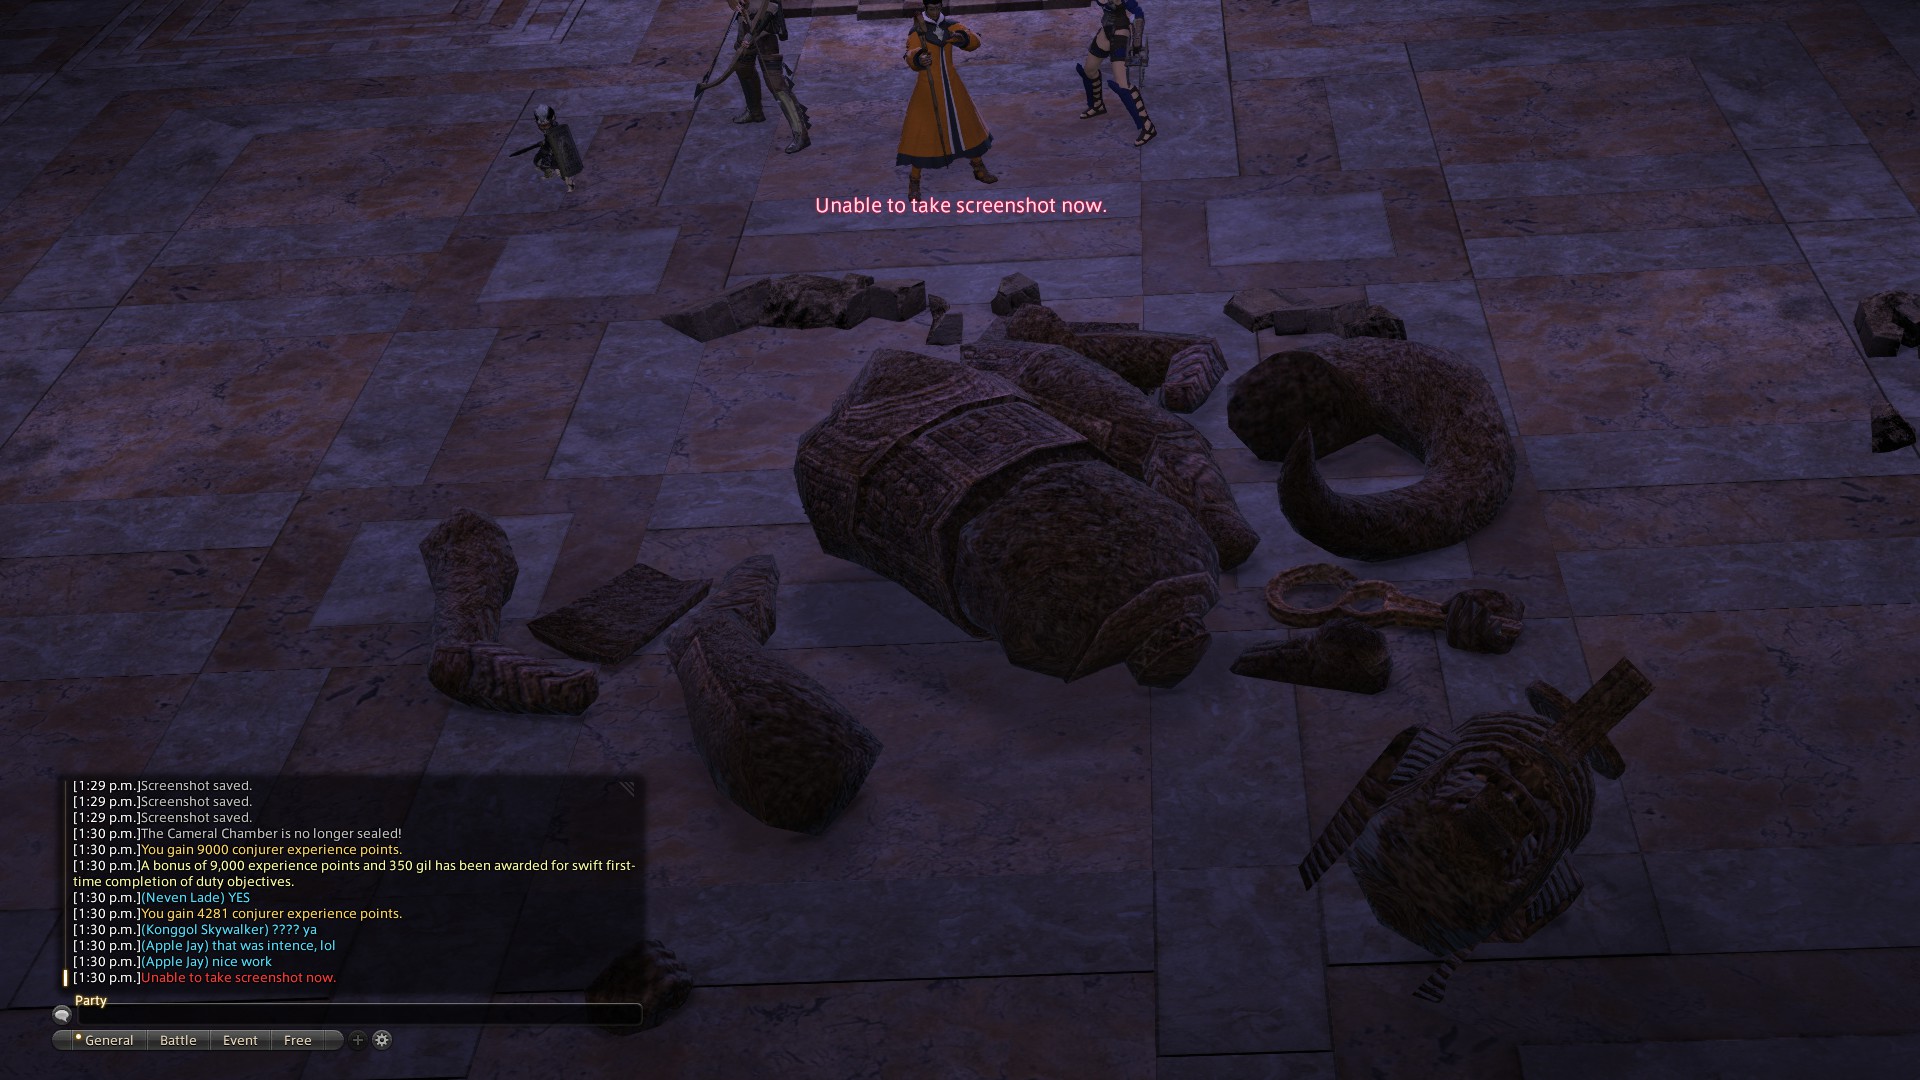
– The second boss in this dungeon is the Temple Guardian that looks like Titan’s smaller version. This fight has a few mechanics but his attacks can be deadly if the healer is not paying enough attention. When you get in a fight with the Temple Guardian, immediately focus in DPSing the Soul Stone that is on its chest. When you take down the soulstone, the boss will be vulnerable to attacks.
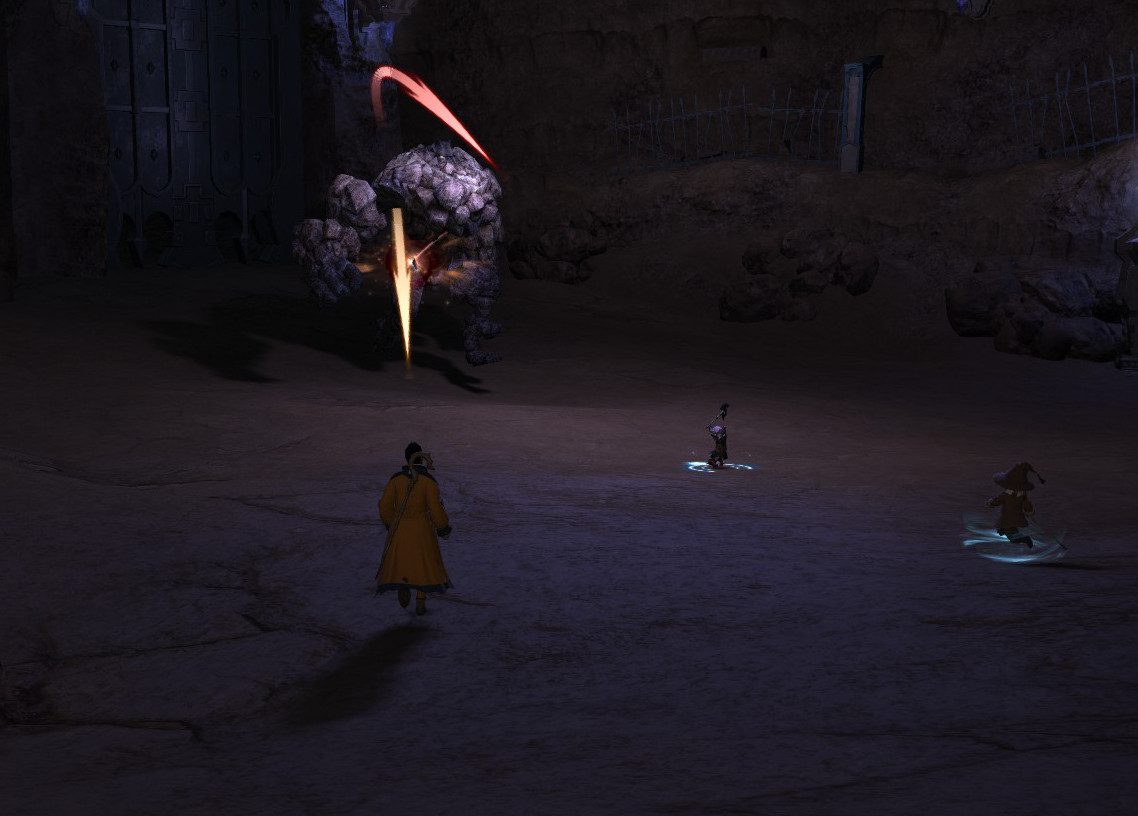
– There is one attack that deals massive damage to all of the group and its the Obliterate. This AOE attack will make the Guardian jump and pound the ground, causing it to shake and damage everyone. Unfortunately, there’s no way to prevent it. As soon as everyone recovers, have the healer focus in healing the tank while others should heal themselves when they can. I do not suggest using Medica since MP is important in this fight as it can be a long one.
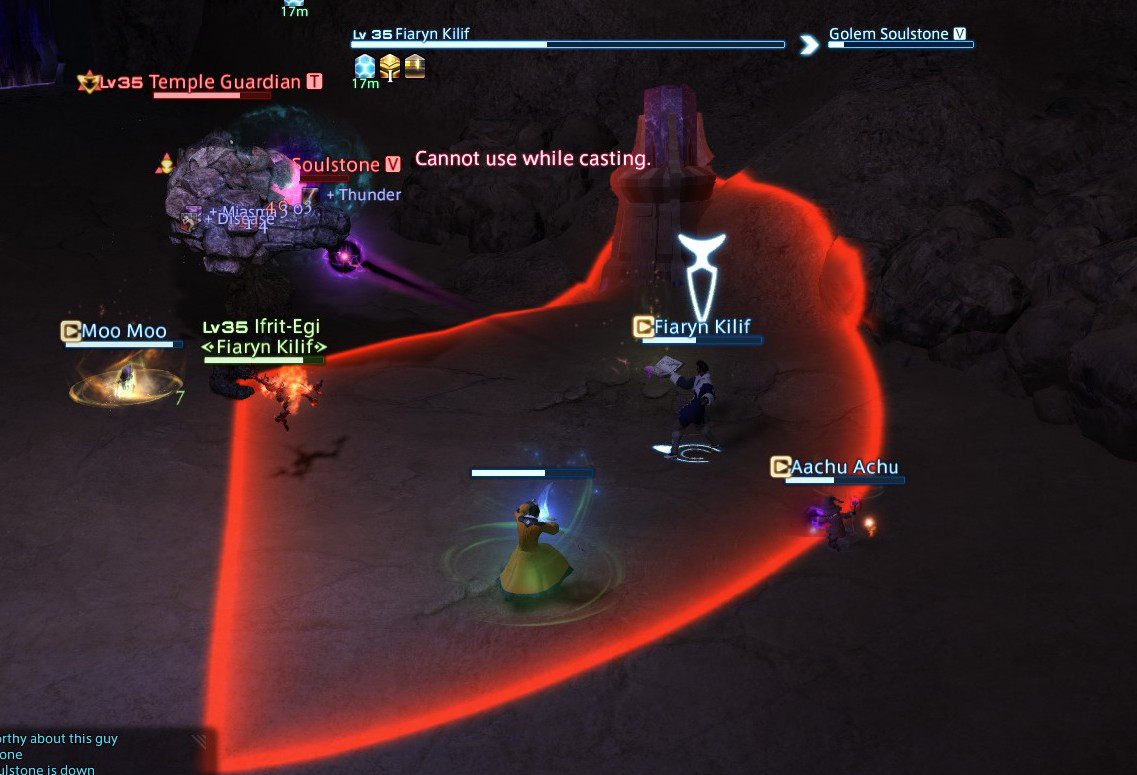
– Another move that everyone needs to watch out for is the Guardian’s cone frontal AOE. As always, you will get a warning if this boss will do its Boulder Clap attack. Pay attention to the cone red line. When you see it, immediately leave the boss’ sights.
– There will be a time where the tank the can’t hold the boss’ aggro. When this happens, the boss will pick one member in the group and deliver a massive punch that will stun the party member for three seconds.
Adjucator – Strategy
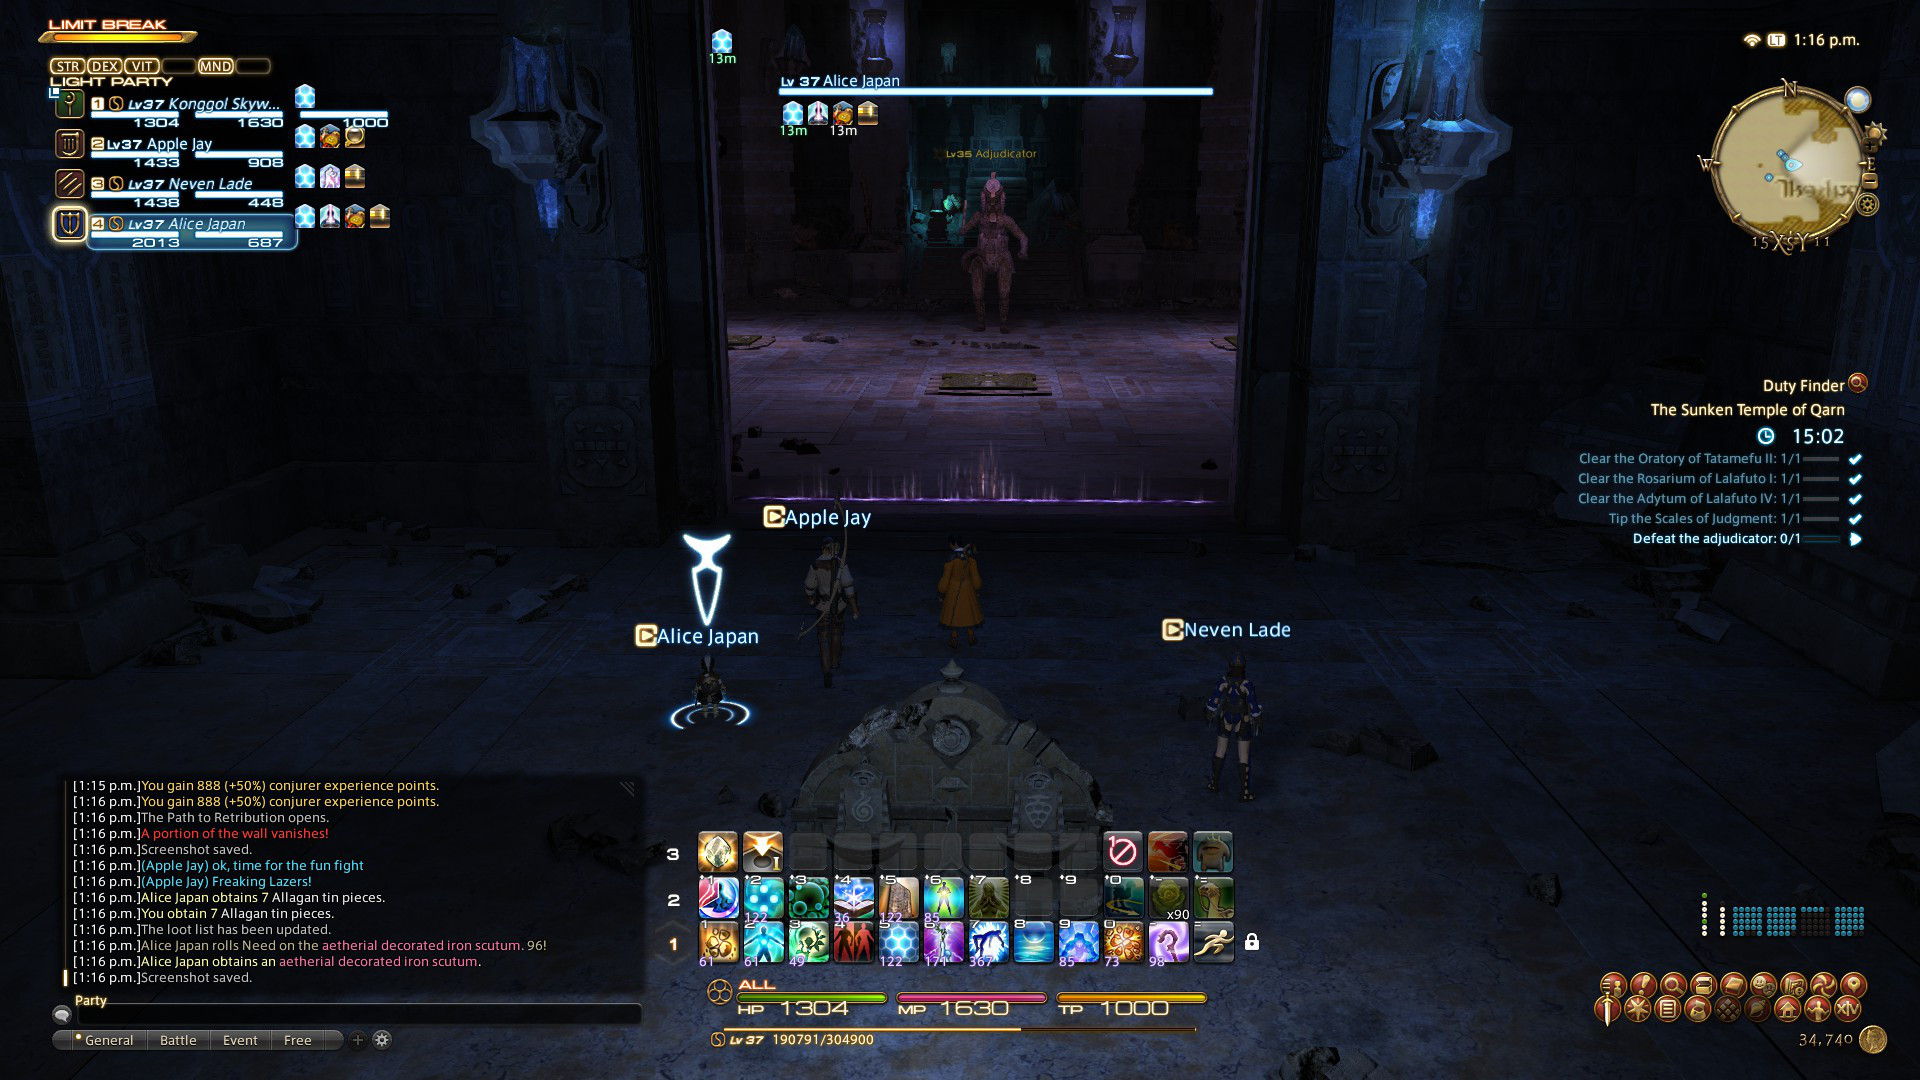
– Adjucator is the main boss of this dungeon. For this fight, the boss has four phases. Every time the boss drops down to 25% health, he will move onto the next phase and introduce a new set of moves. Let’s get started.
First Phase:
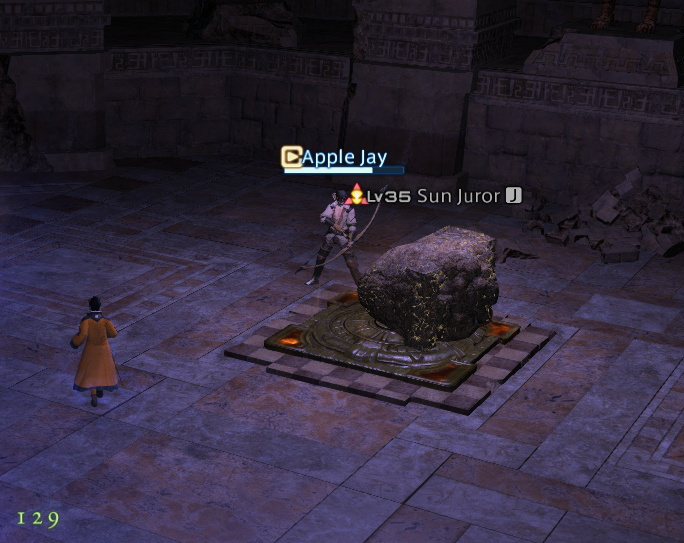
– Remember that Avoirdupois? Apparently, there’s something similar in this boss fight. During the first phase of the boss, several Sun Juror (stone face adds) will spawn. Lead them to the glowing platform and kill them on top of it. If you fail, the adds will not die.
– Aside from the Sun Juror, the boss will also do a move called Darkness. Well, this move is a frontal cone attack that can be evaded if you move quickly.
Second Phase 75% Health
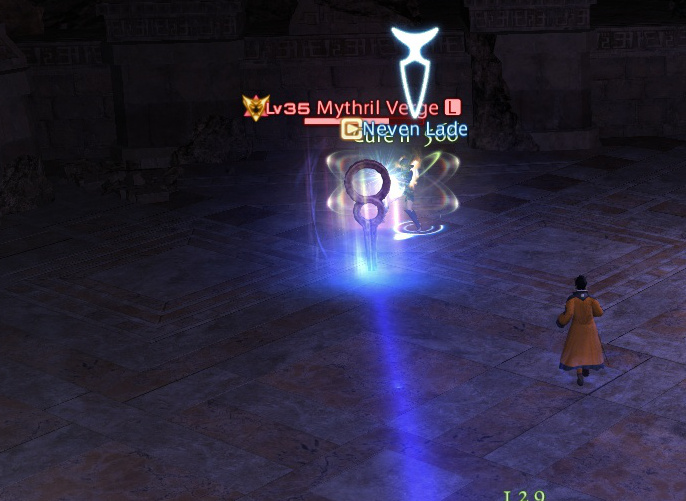
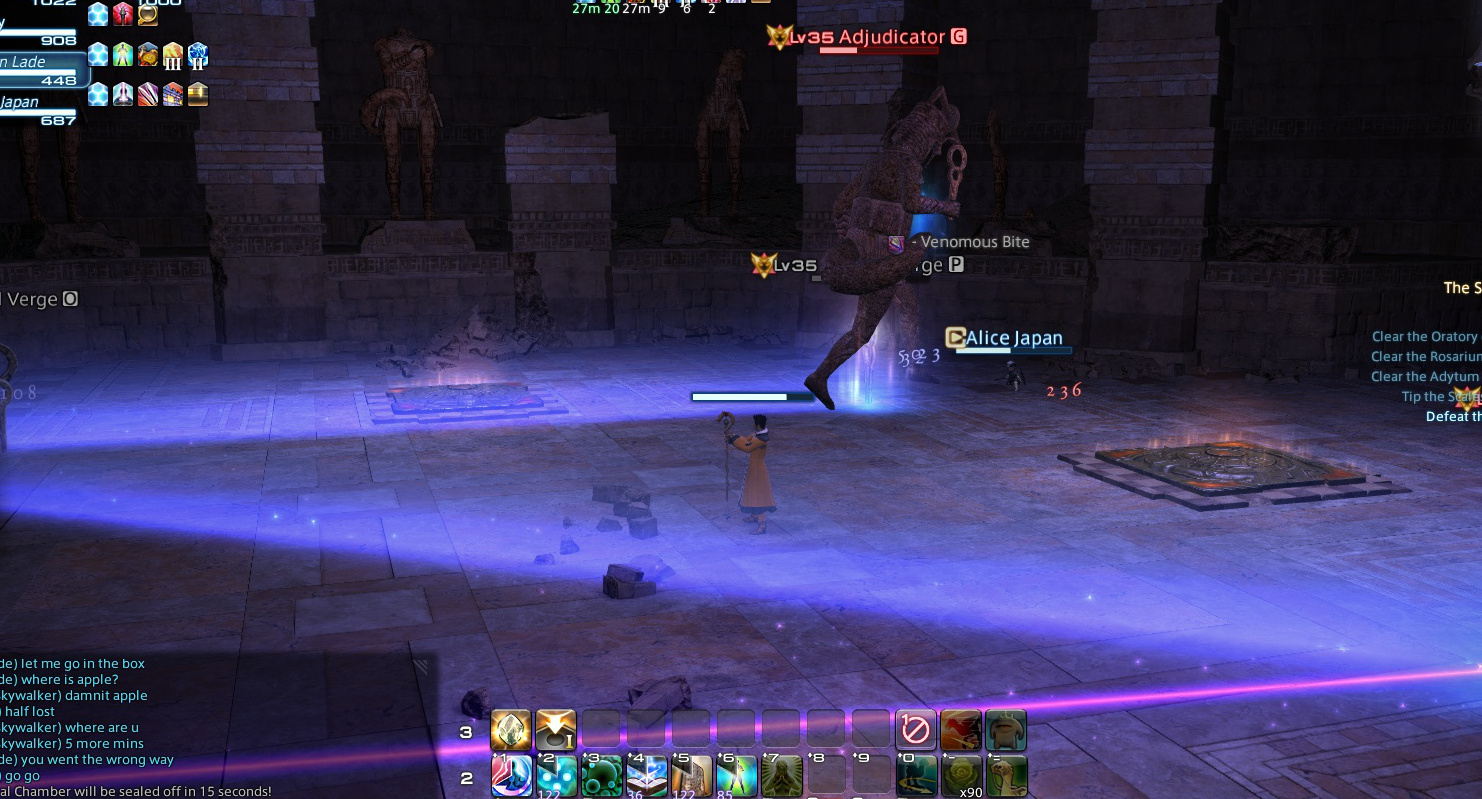
– During the second phase, there will be two more mechanics! The first one that you should worry about is the Mythril Verge. When you see this spawn in the battlefield, immediately take this down if possible as it will cast a laser attack anywhere.
– Another mechanic is when the boss will randomly paralyze a target.
Third Phase 50% Health
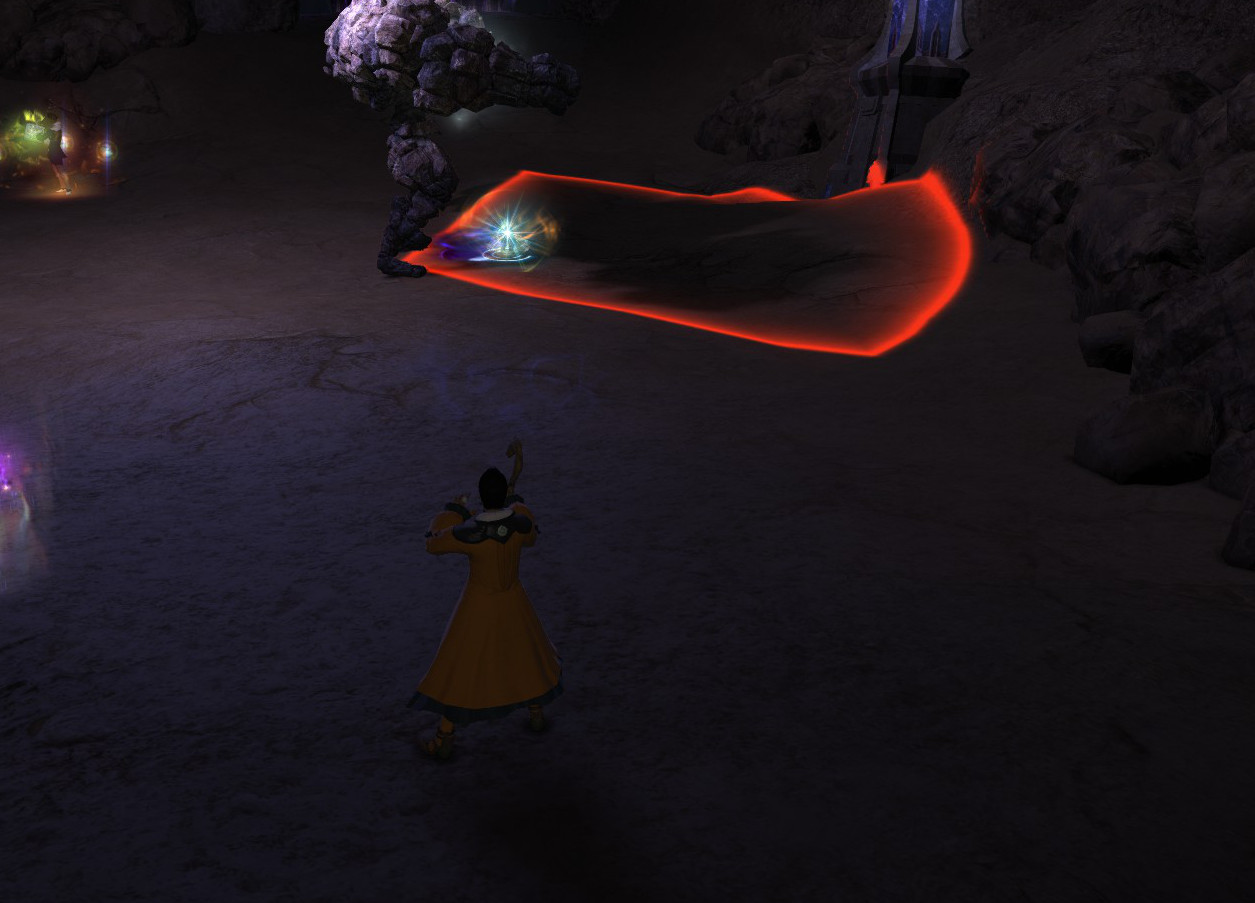
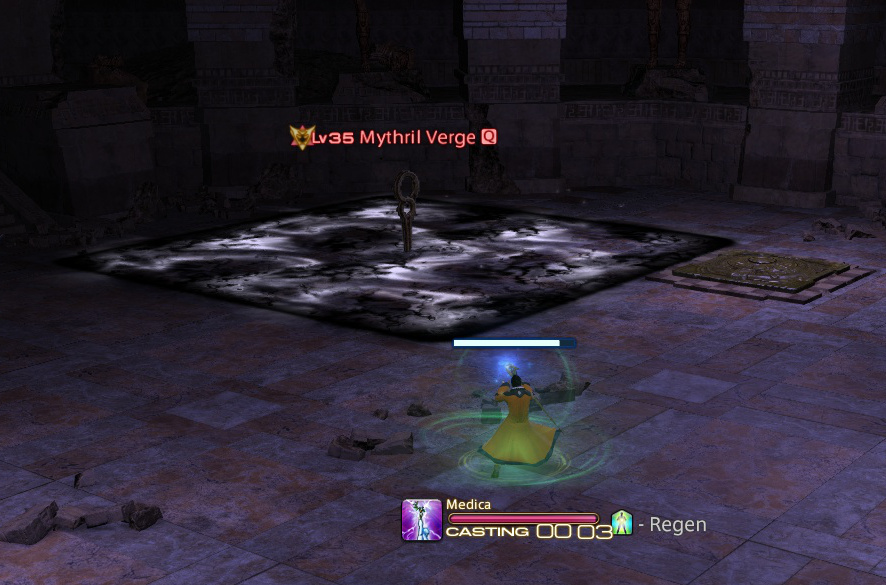
– When the boss reaches 50% HP, he will cast a much improved Mythril Verge. As soon as it spawns, a black squared puddle will appear. Have the highest DPS in the group come on top of it. The puddle will become a box that will enclose the party member. Have the DPS take down the Mythril Verge to destroy it. If not taken down right away, it will cause a map wide AOE damage.
– Another move that you have to watch out for is the Creeping Darkness. This is a wide AOE damage that the boss will cast until it’s dead. Make sure the healer pays attention. Cast Regen if possible.
Final Phase 25% Health
– For the final phase of this boss fight, the boss will now spawn four Mythril Verges. This time, there will be four lasers that can come after the group. The lasers are avoidable since you will see which way the laser will go through its purple silhouette.
For more Final fantasy XIV Game Guides like this one, check out our Final Fantasy XIV Game Guide page.