The Imprisoned Part 2
After defeating Demon Lord Ghirahim for the second time, head on over to the Sealed Grounds, and use a Skyward Strike to activate the Gate of Time. Upon activating charging a Skyward Strike the seal holding The Imprisoned will weaken and seal the beast away once more. Head out the temple front door and watch as Groose demonstrates his new bomb tossing device, The Groosenator. After the speech, run forward and jump off the ledges making sure to use the sailcloth to avoid getting hurt in the fall until you reach the sealing spike.
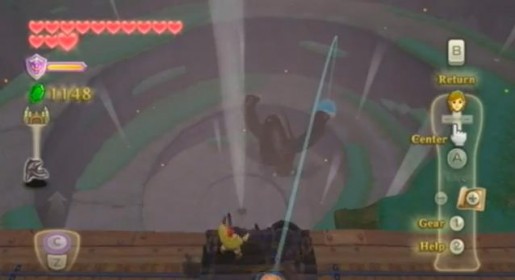
You will notice that The Imprisoned has grown two arms, and each arm has three fingers that, much like his toes, needs destroying. Once you gain control of Link, follow the same method of the previous encounter with this beast and proceed to destroy his toes. After a certain period, or destroying all but one toe, The Imprisoned will attempt to climb the walls to get away from Link and reach the temple. The first time this happens, Groose will explain that you must use “The Groosenator” to stop the boss. Press up on the D-pad to receive a quick tutorial on how to launch a bomb using Groose’s device in order to destroy the fingers of The Imprisoned.
After launching a bomb and destroying one finger, Groose will explain that he needs time to reload the machine. Proceed to destroy whatever toes are remaining causing The Imprisoned to fall over backwards, but due to the newly grown arms, Link will be unable to run around the boss to reach the spike in his head. Simply jump down a ledge, run around and climb back up to strike the spike three times causing The Imprisoned to get back on his feet and regrow his fingers and toes.
By now, Groose will have reloaded “The Groosenator” and you can use it to stun The Imprisoned allowing Link to slash away at those toes. Repeat this process until the boss falls over; this time Link will not be able to climb back up the ledge once down so simply run to the nearest air vent to get lifted back up to the ledge nearest the head of The Imprisoned to reach the sealing spike. After three more upward strikes, The Imprisoned launches upward, lands on his stomach, and starts slithering away. Listen for Groose’s signal and use his device to stop the boss in his tracks.
Run up the spiral walkway utilizing the Stamina fruit along the way; before you can reach The Imprisoned, he will attempt to climb the walls again. If you are quick enough, you can destroy a few toes before Groose reloads “The Groosenator” but once he does quickly use it to drop The Imprisoned back down. Upon landing, the boss will pick up speed when walking away from Link so be careful when attacking the toes. I recommend using fully charged arrows on the two back toes, then simply waiting for Groose to reload.
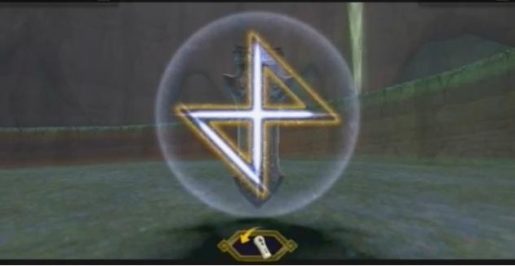
Once The Imprisoned is on his back, hop down a ledge (don’t forget to use the sailcloth to avoid fall damage), run further down and use the wind vent to get back up a ledge and upward strike the sealing spike three times. This end the battle, leaving just one more thing to do: head down to the bottom of the great pit, use a Skyward Strike on the sealing spike, and perform the necessary directional strikes to reseal the demon back into its hole.


Hmm, I didn’t know you had to get the fingers. I always hit the body with the Groosenator and that knocked it down just the same. In fact, I don’t remember every touching the fingers at all.